Vai al contenuto
I nostri progetti · EmiratiWorkplace

Al Sarab Tower, ADGM: from bare shell to stone-clad walls

Pubblicato
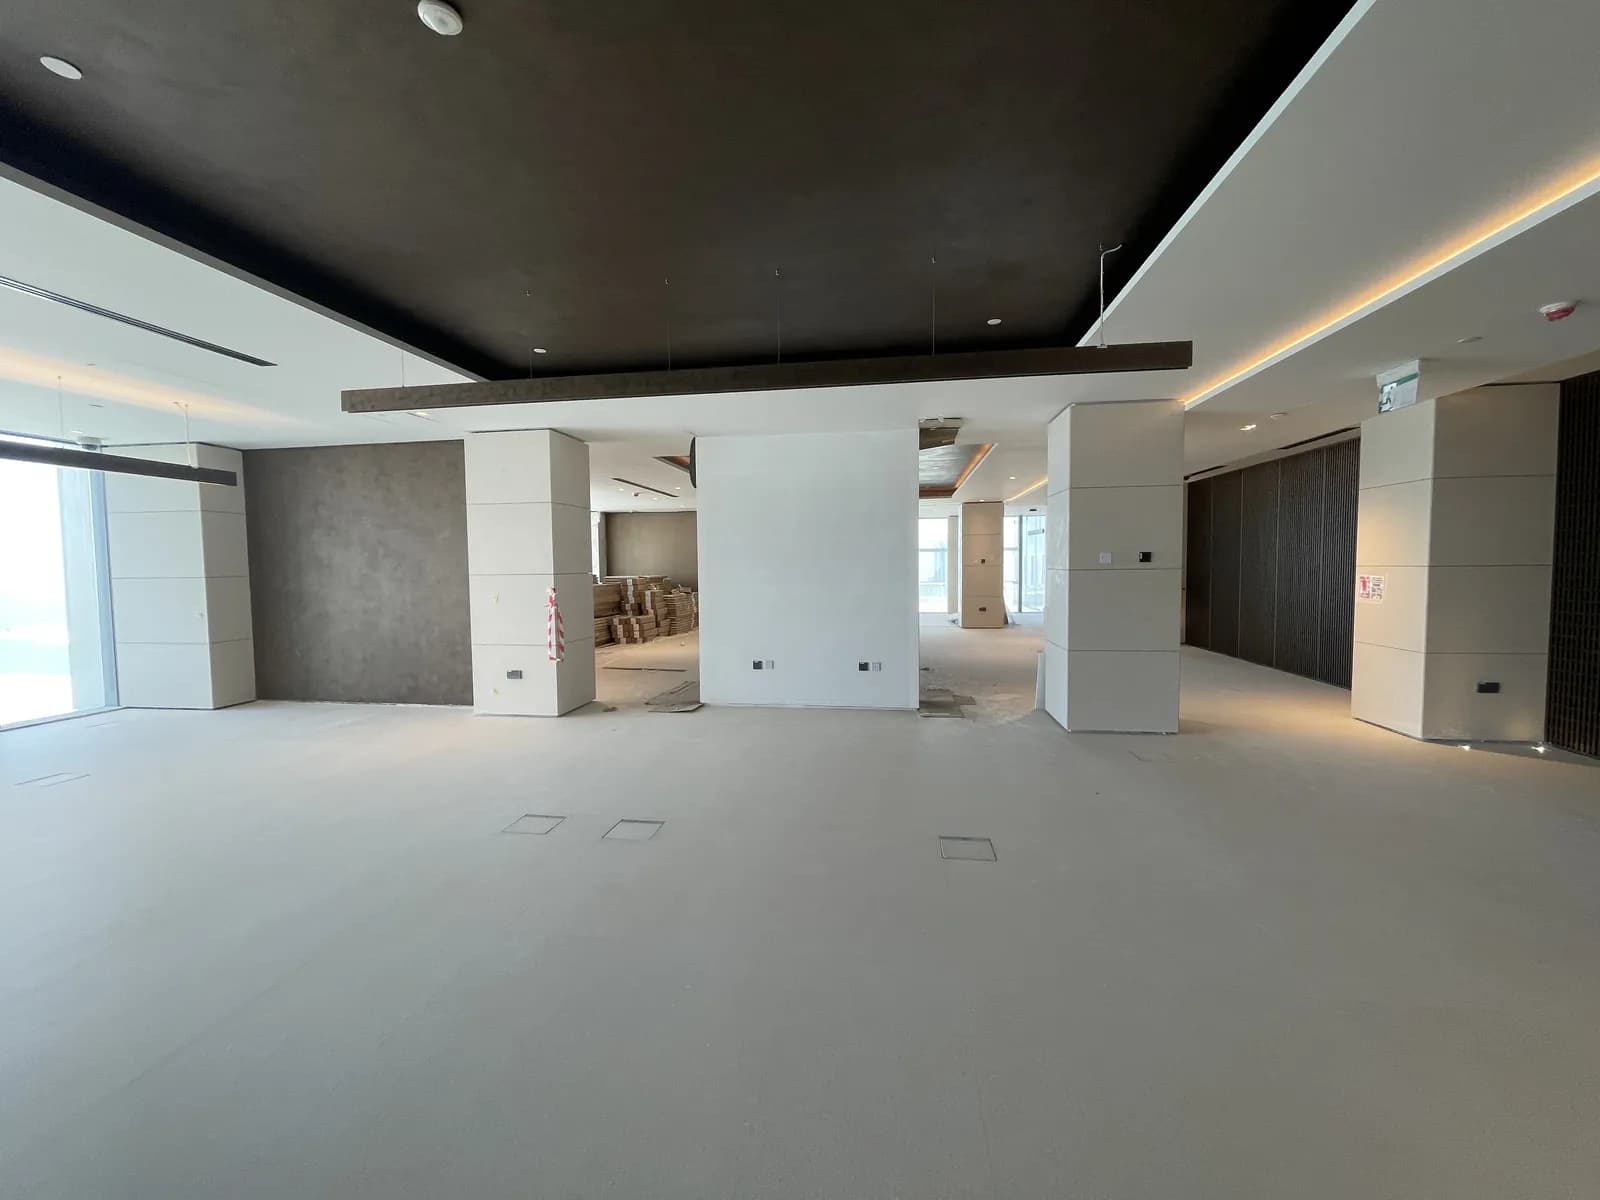
Al Sarab Tower, ADGM: from bare shell to stone-clad walls — la fotografia principale del progetto

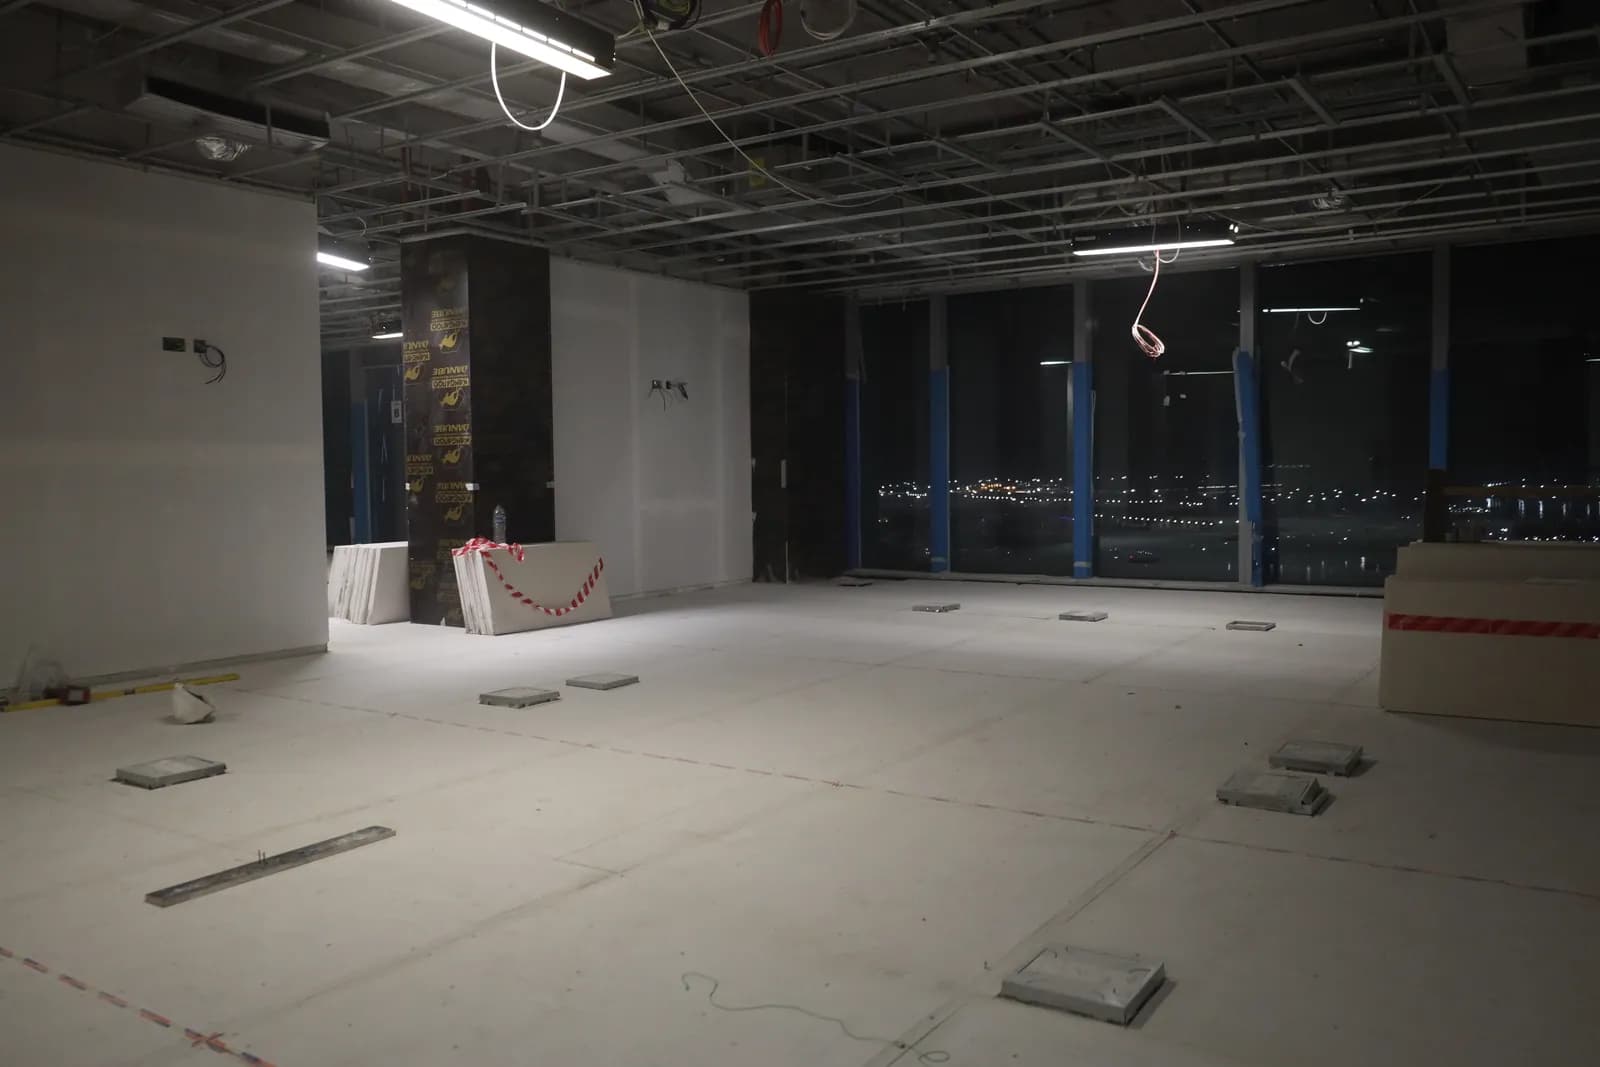
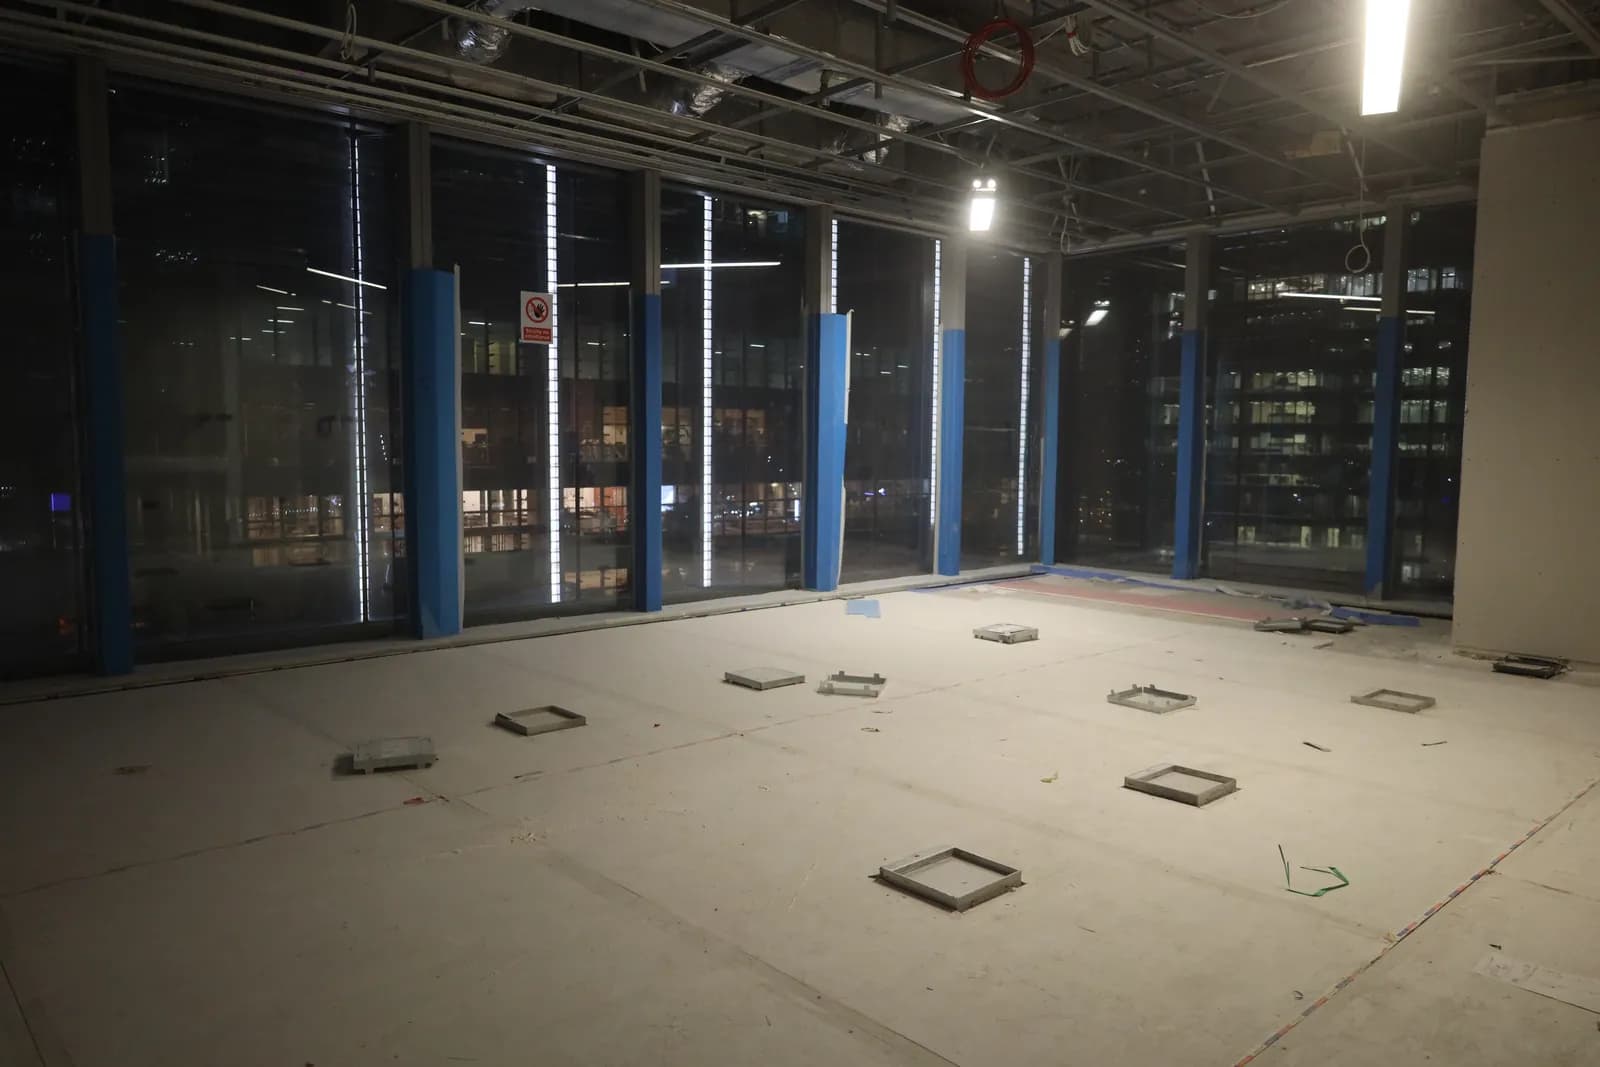
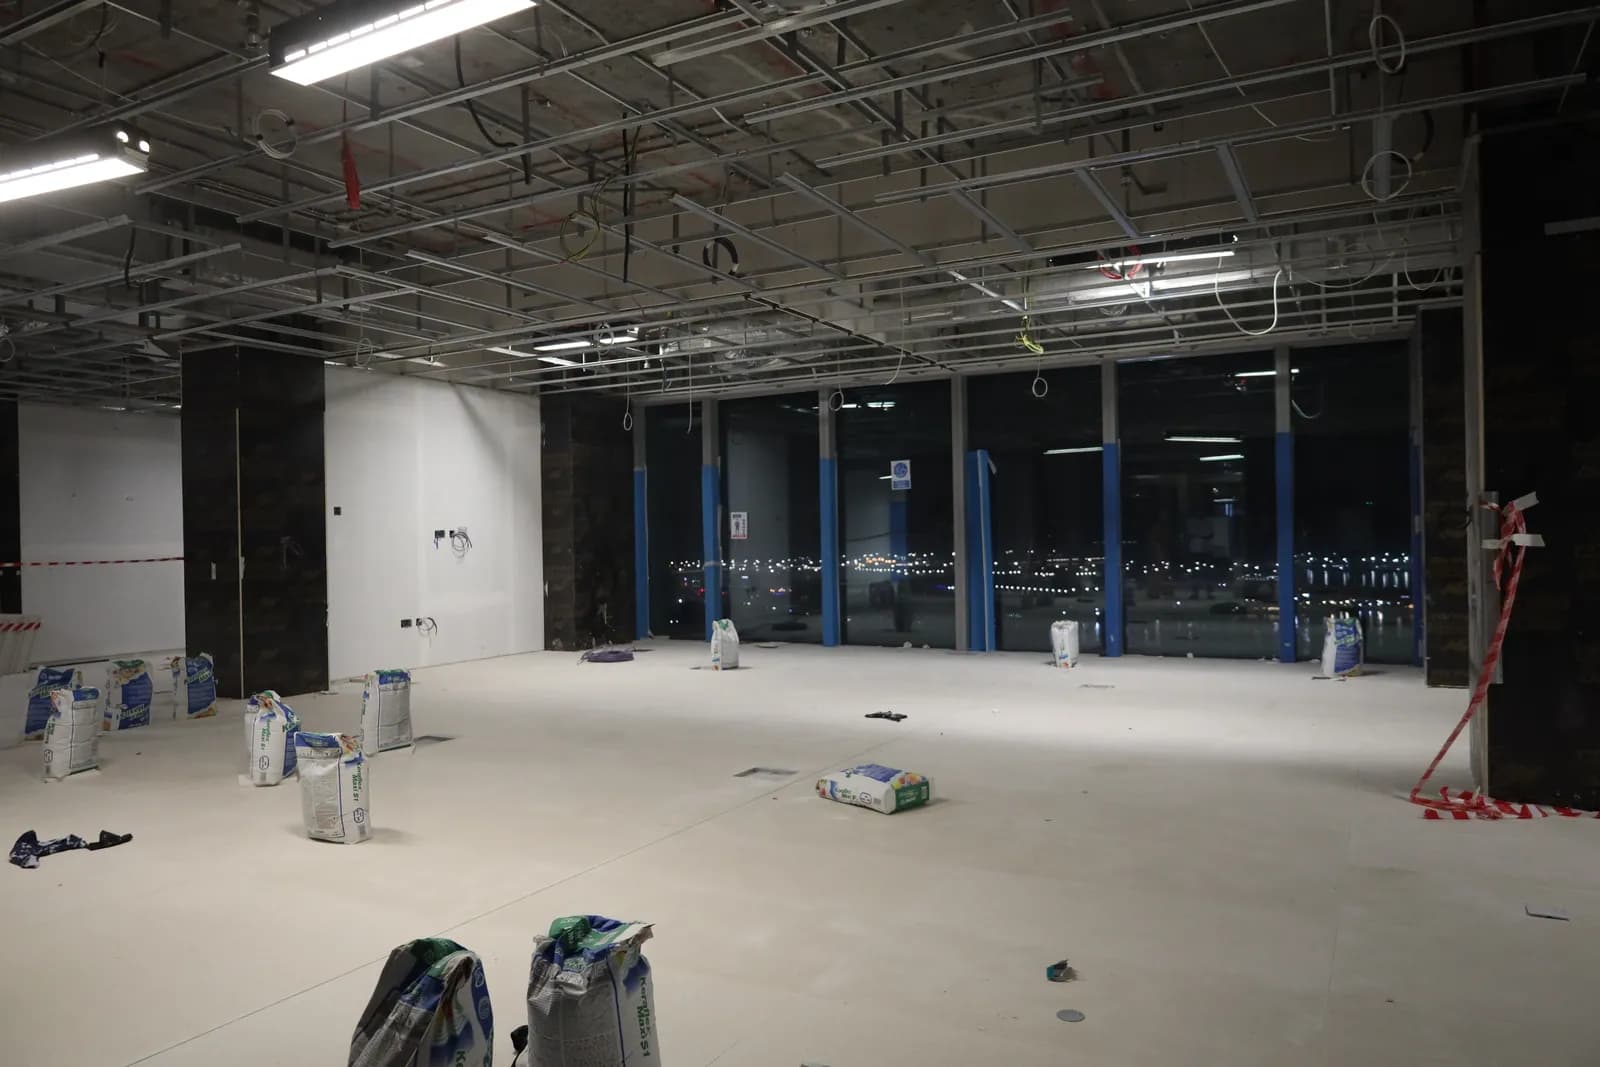
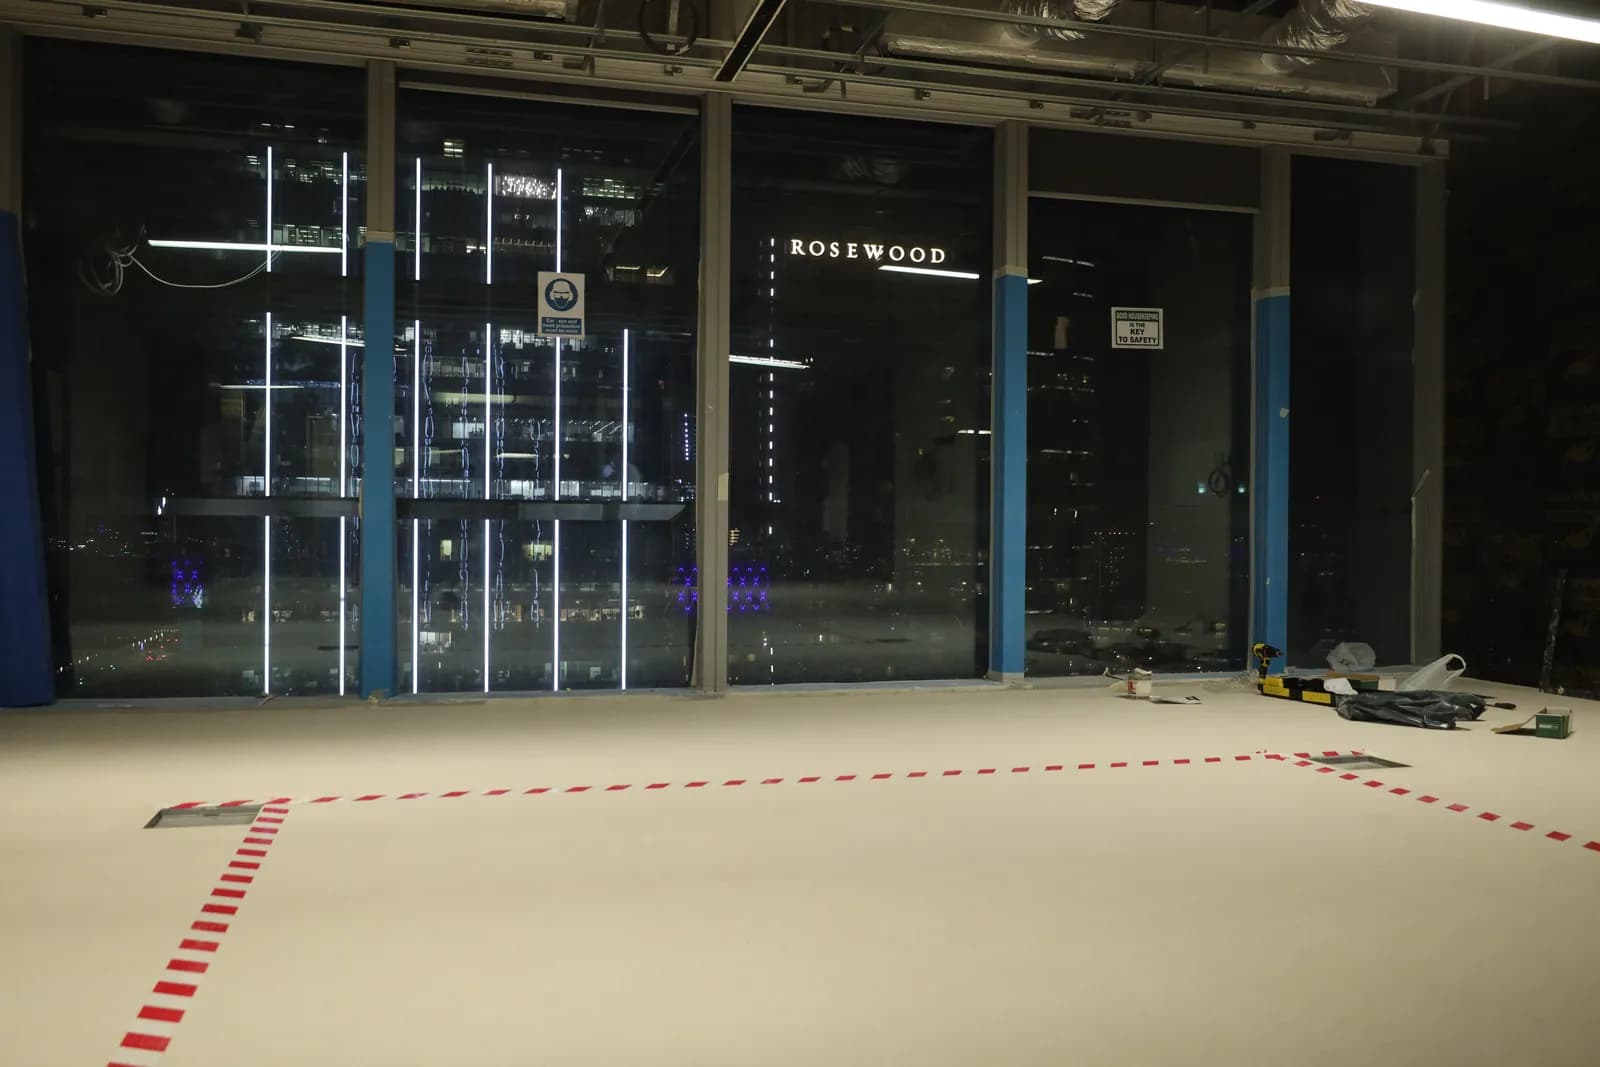
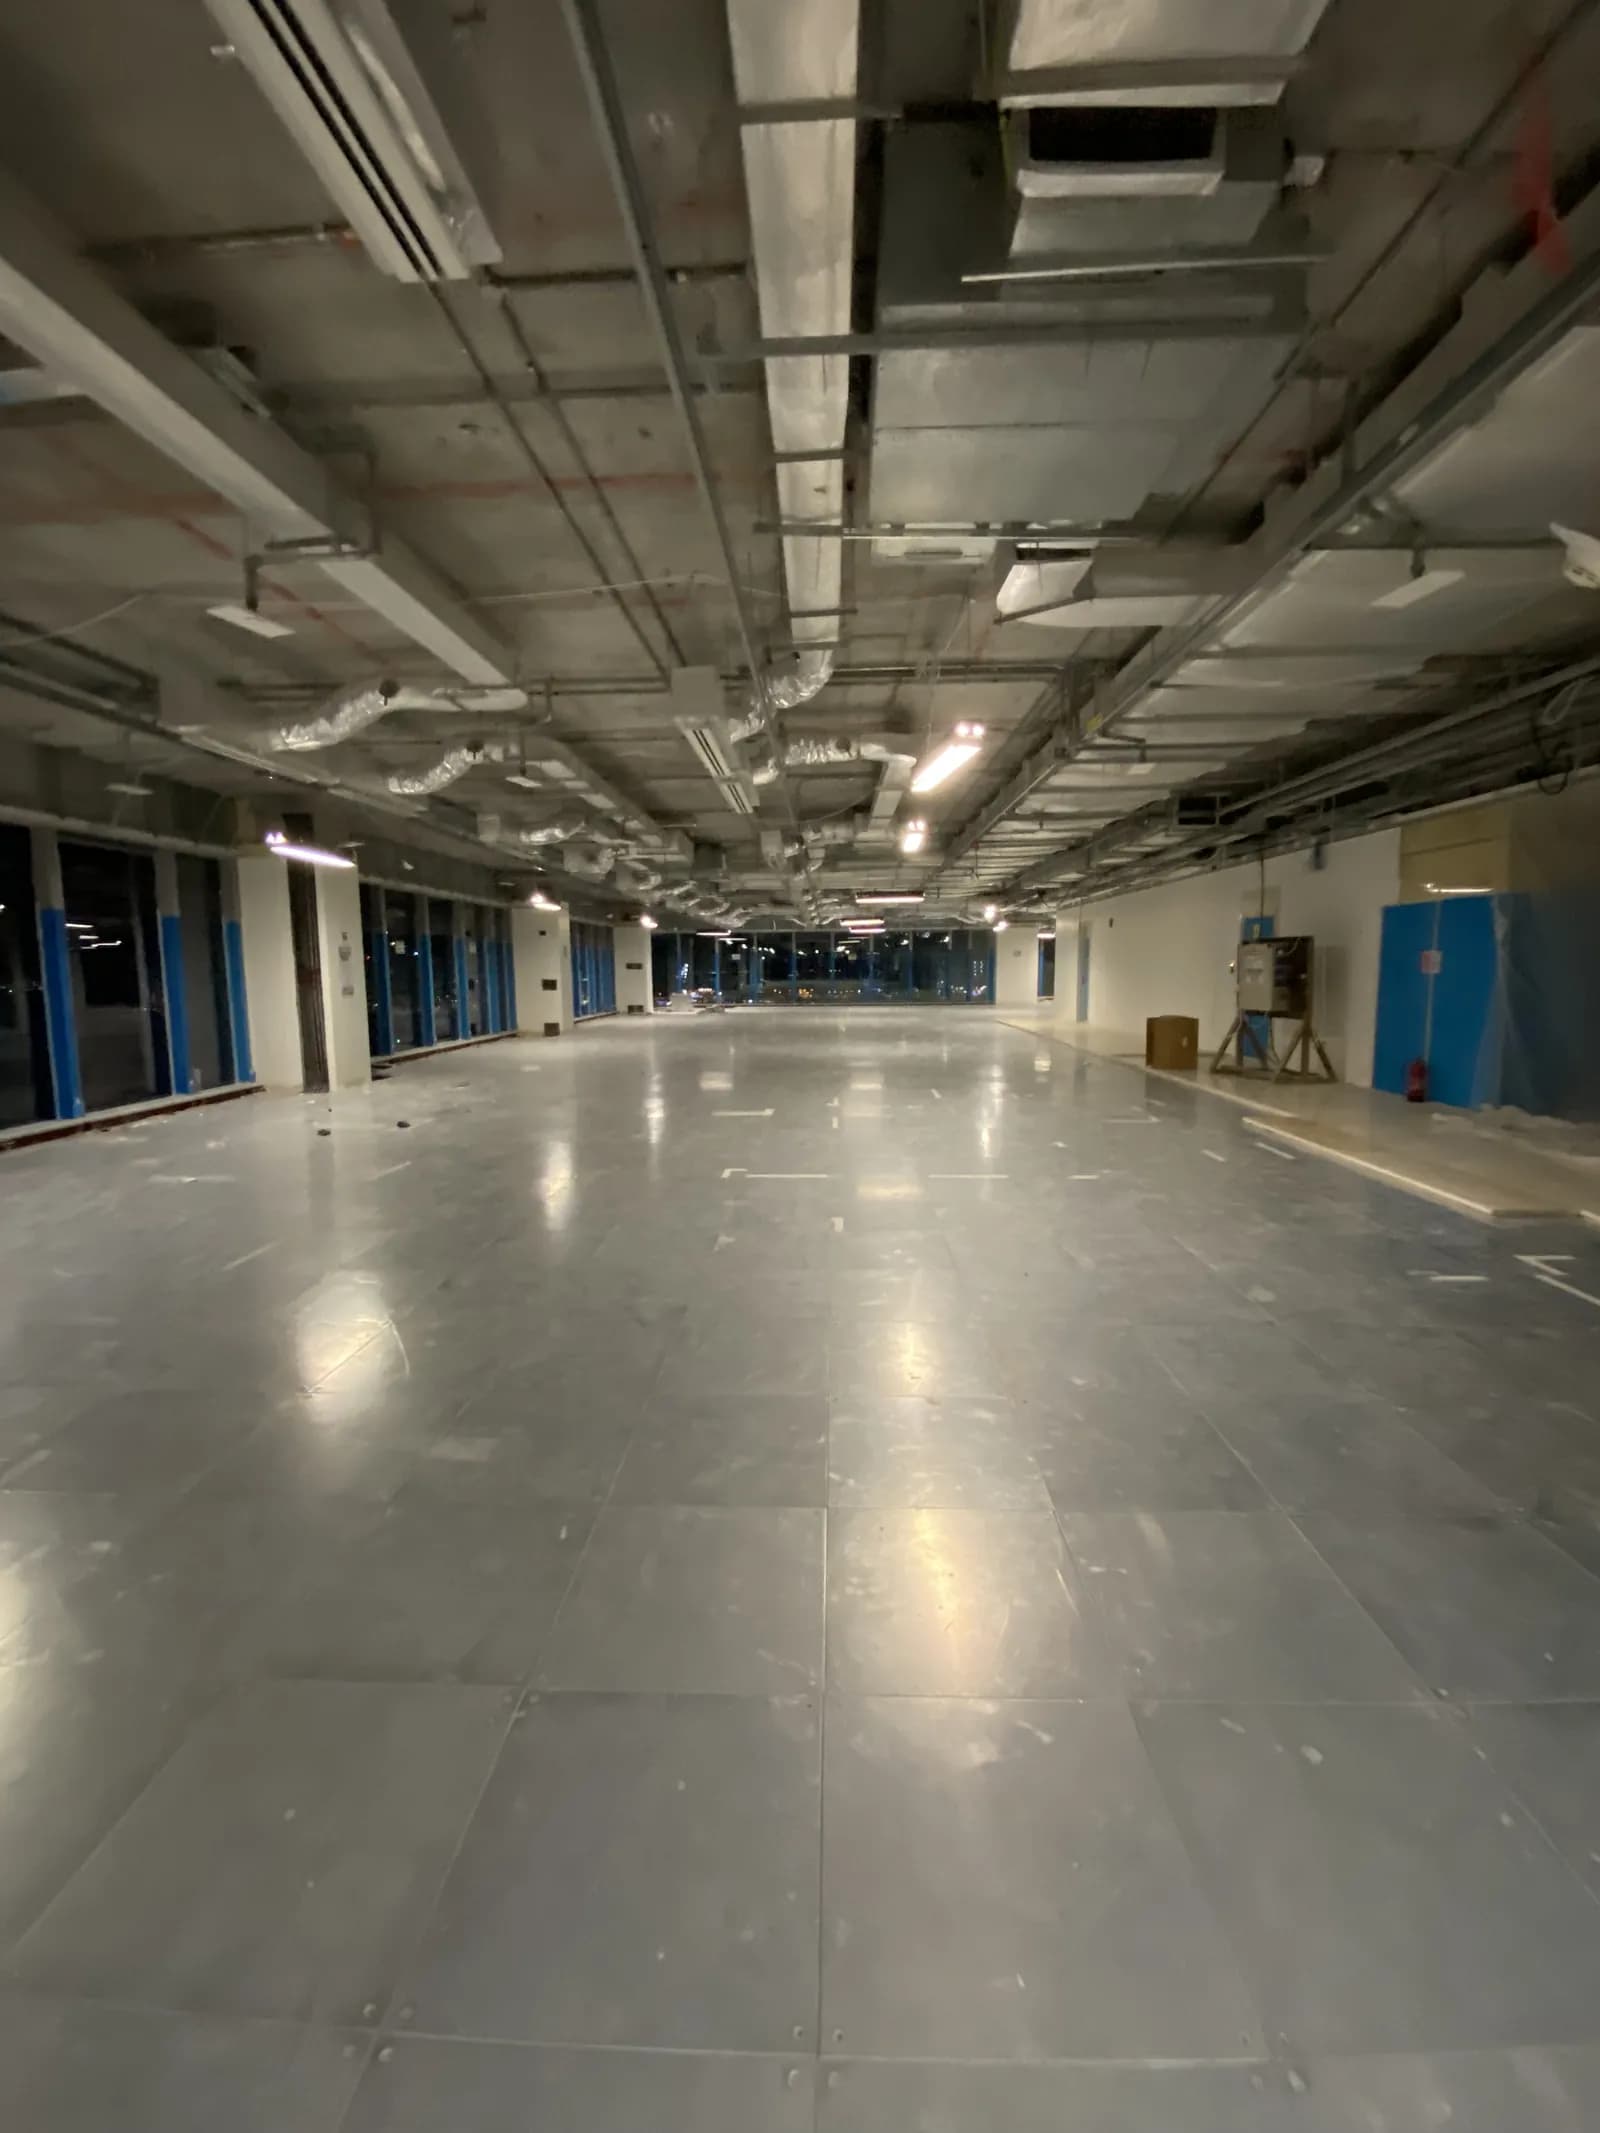
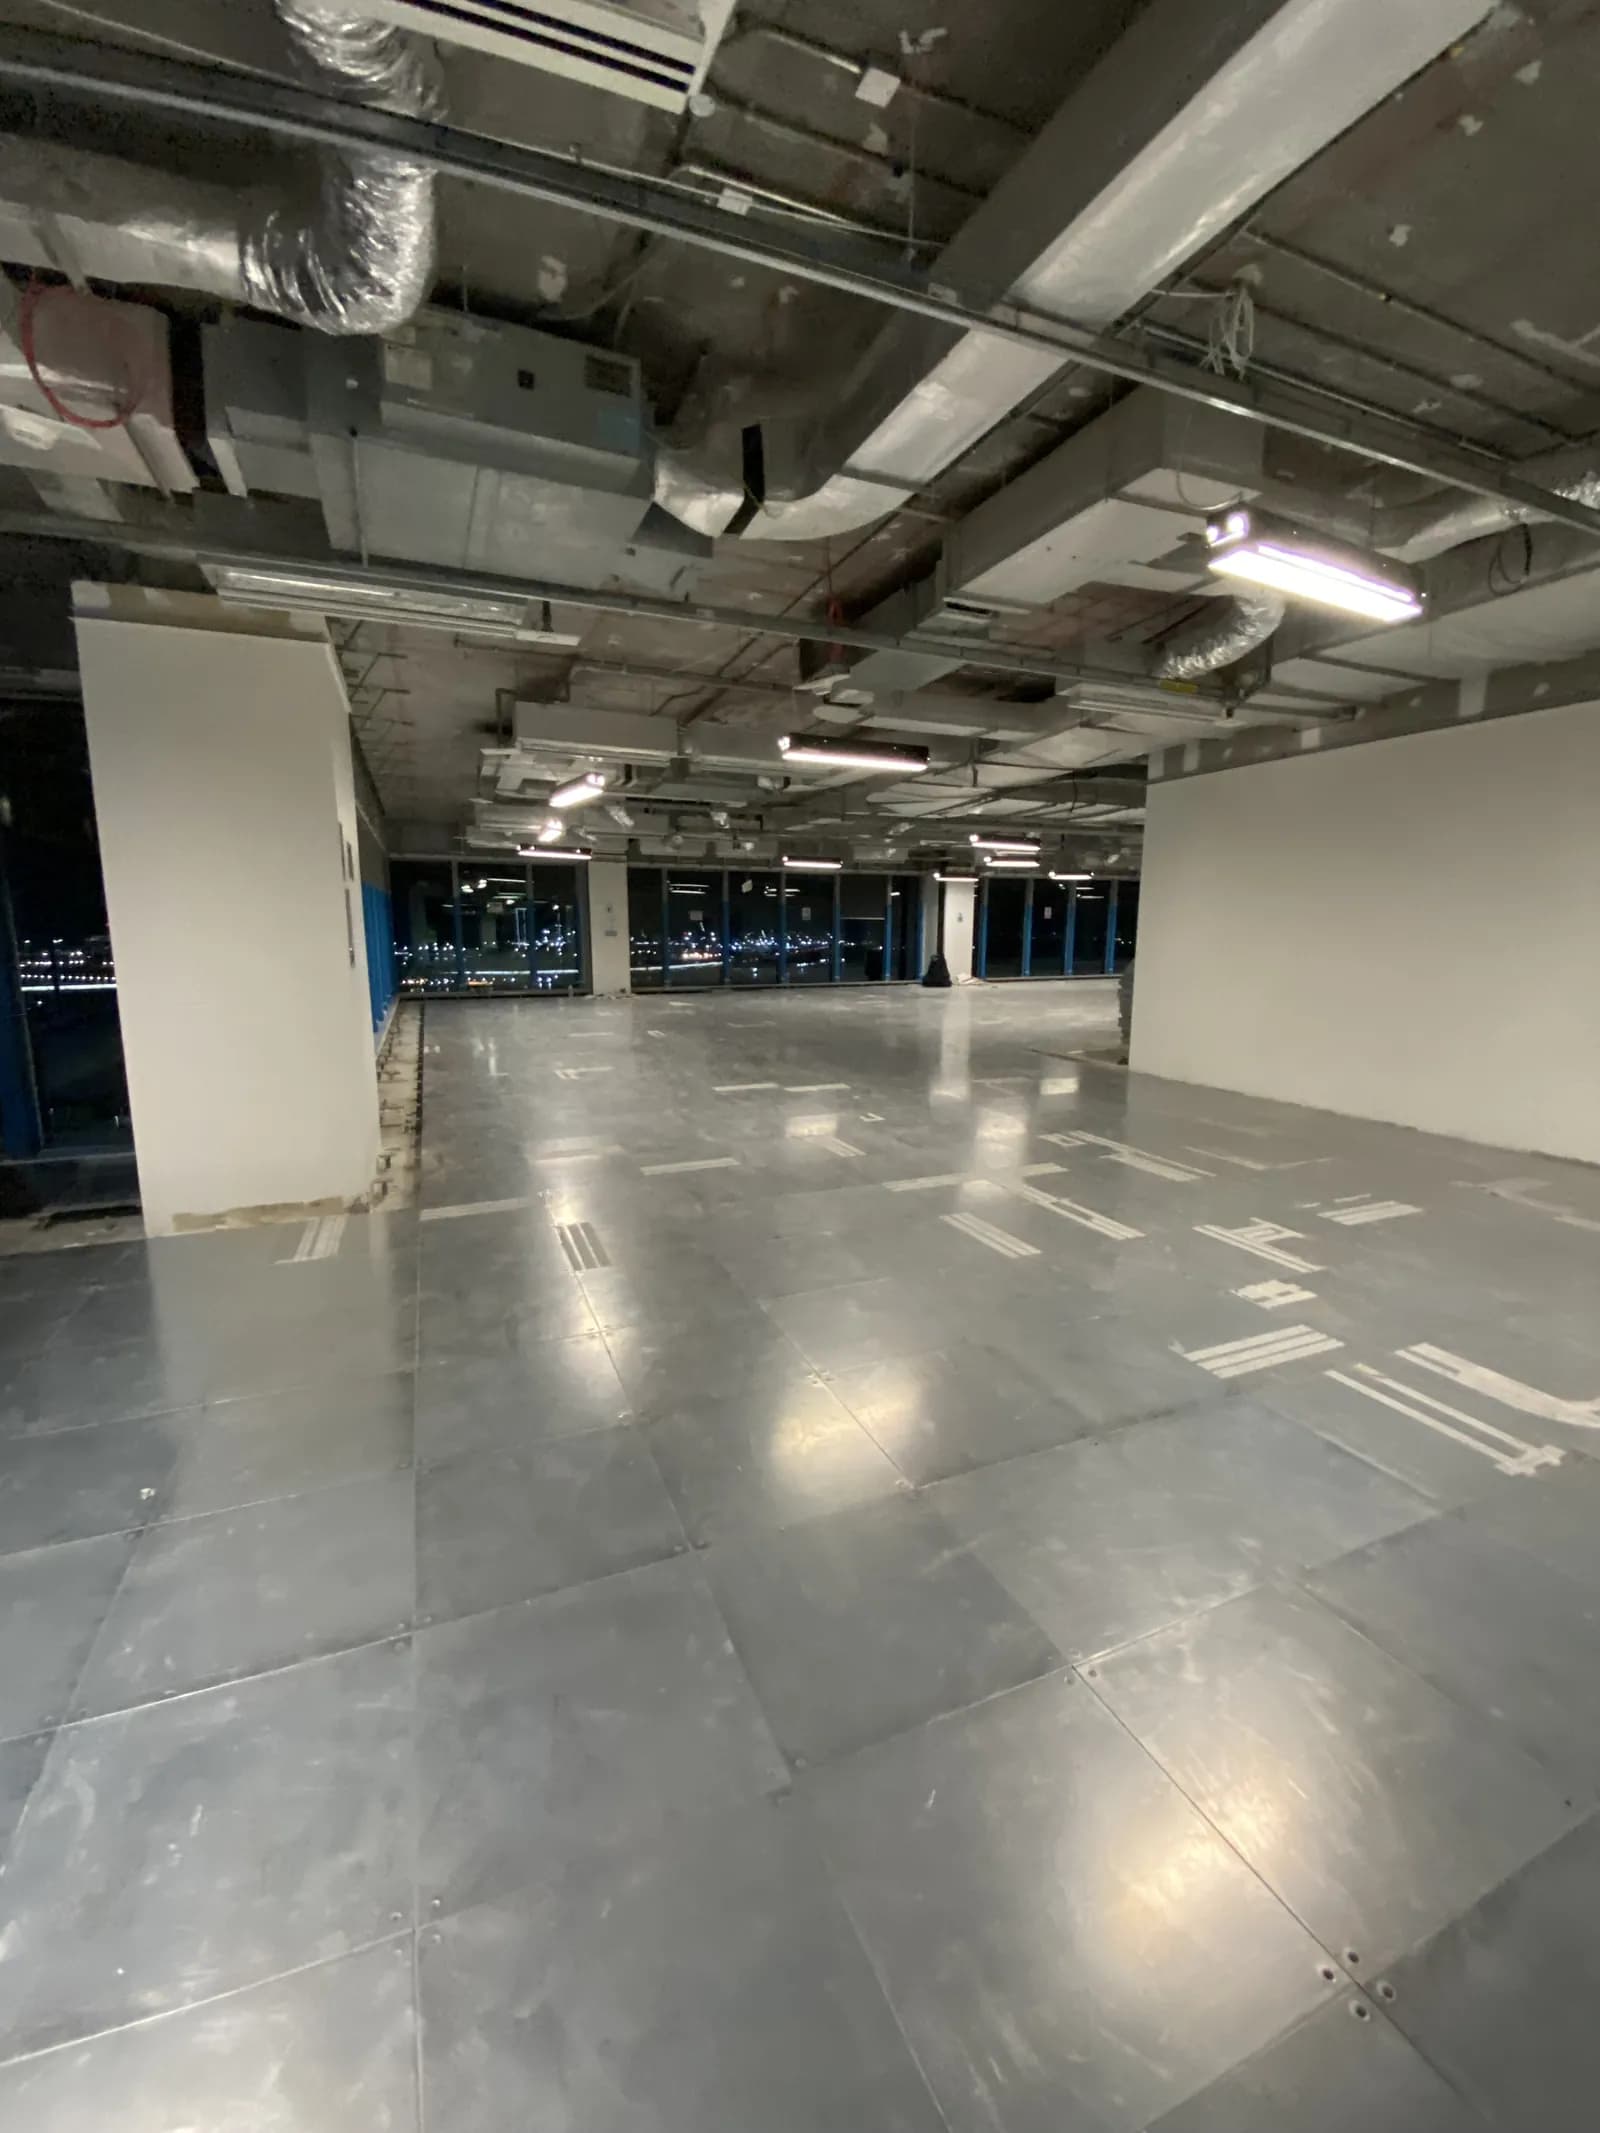
This set has what most projects do not: the 'before'. The first frames show the bare tower floor — polished grey screed, blue-painted structural columns, unfinished perimeter glazing and services fully exposed.

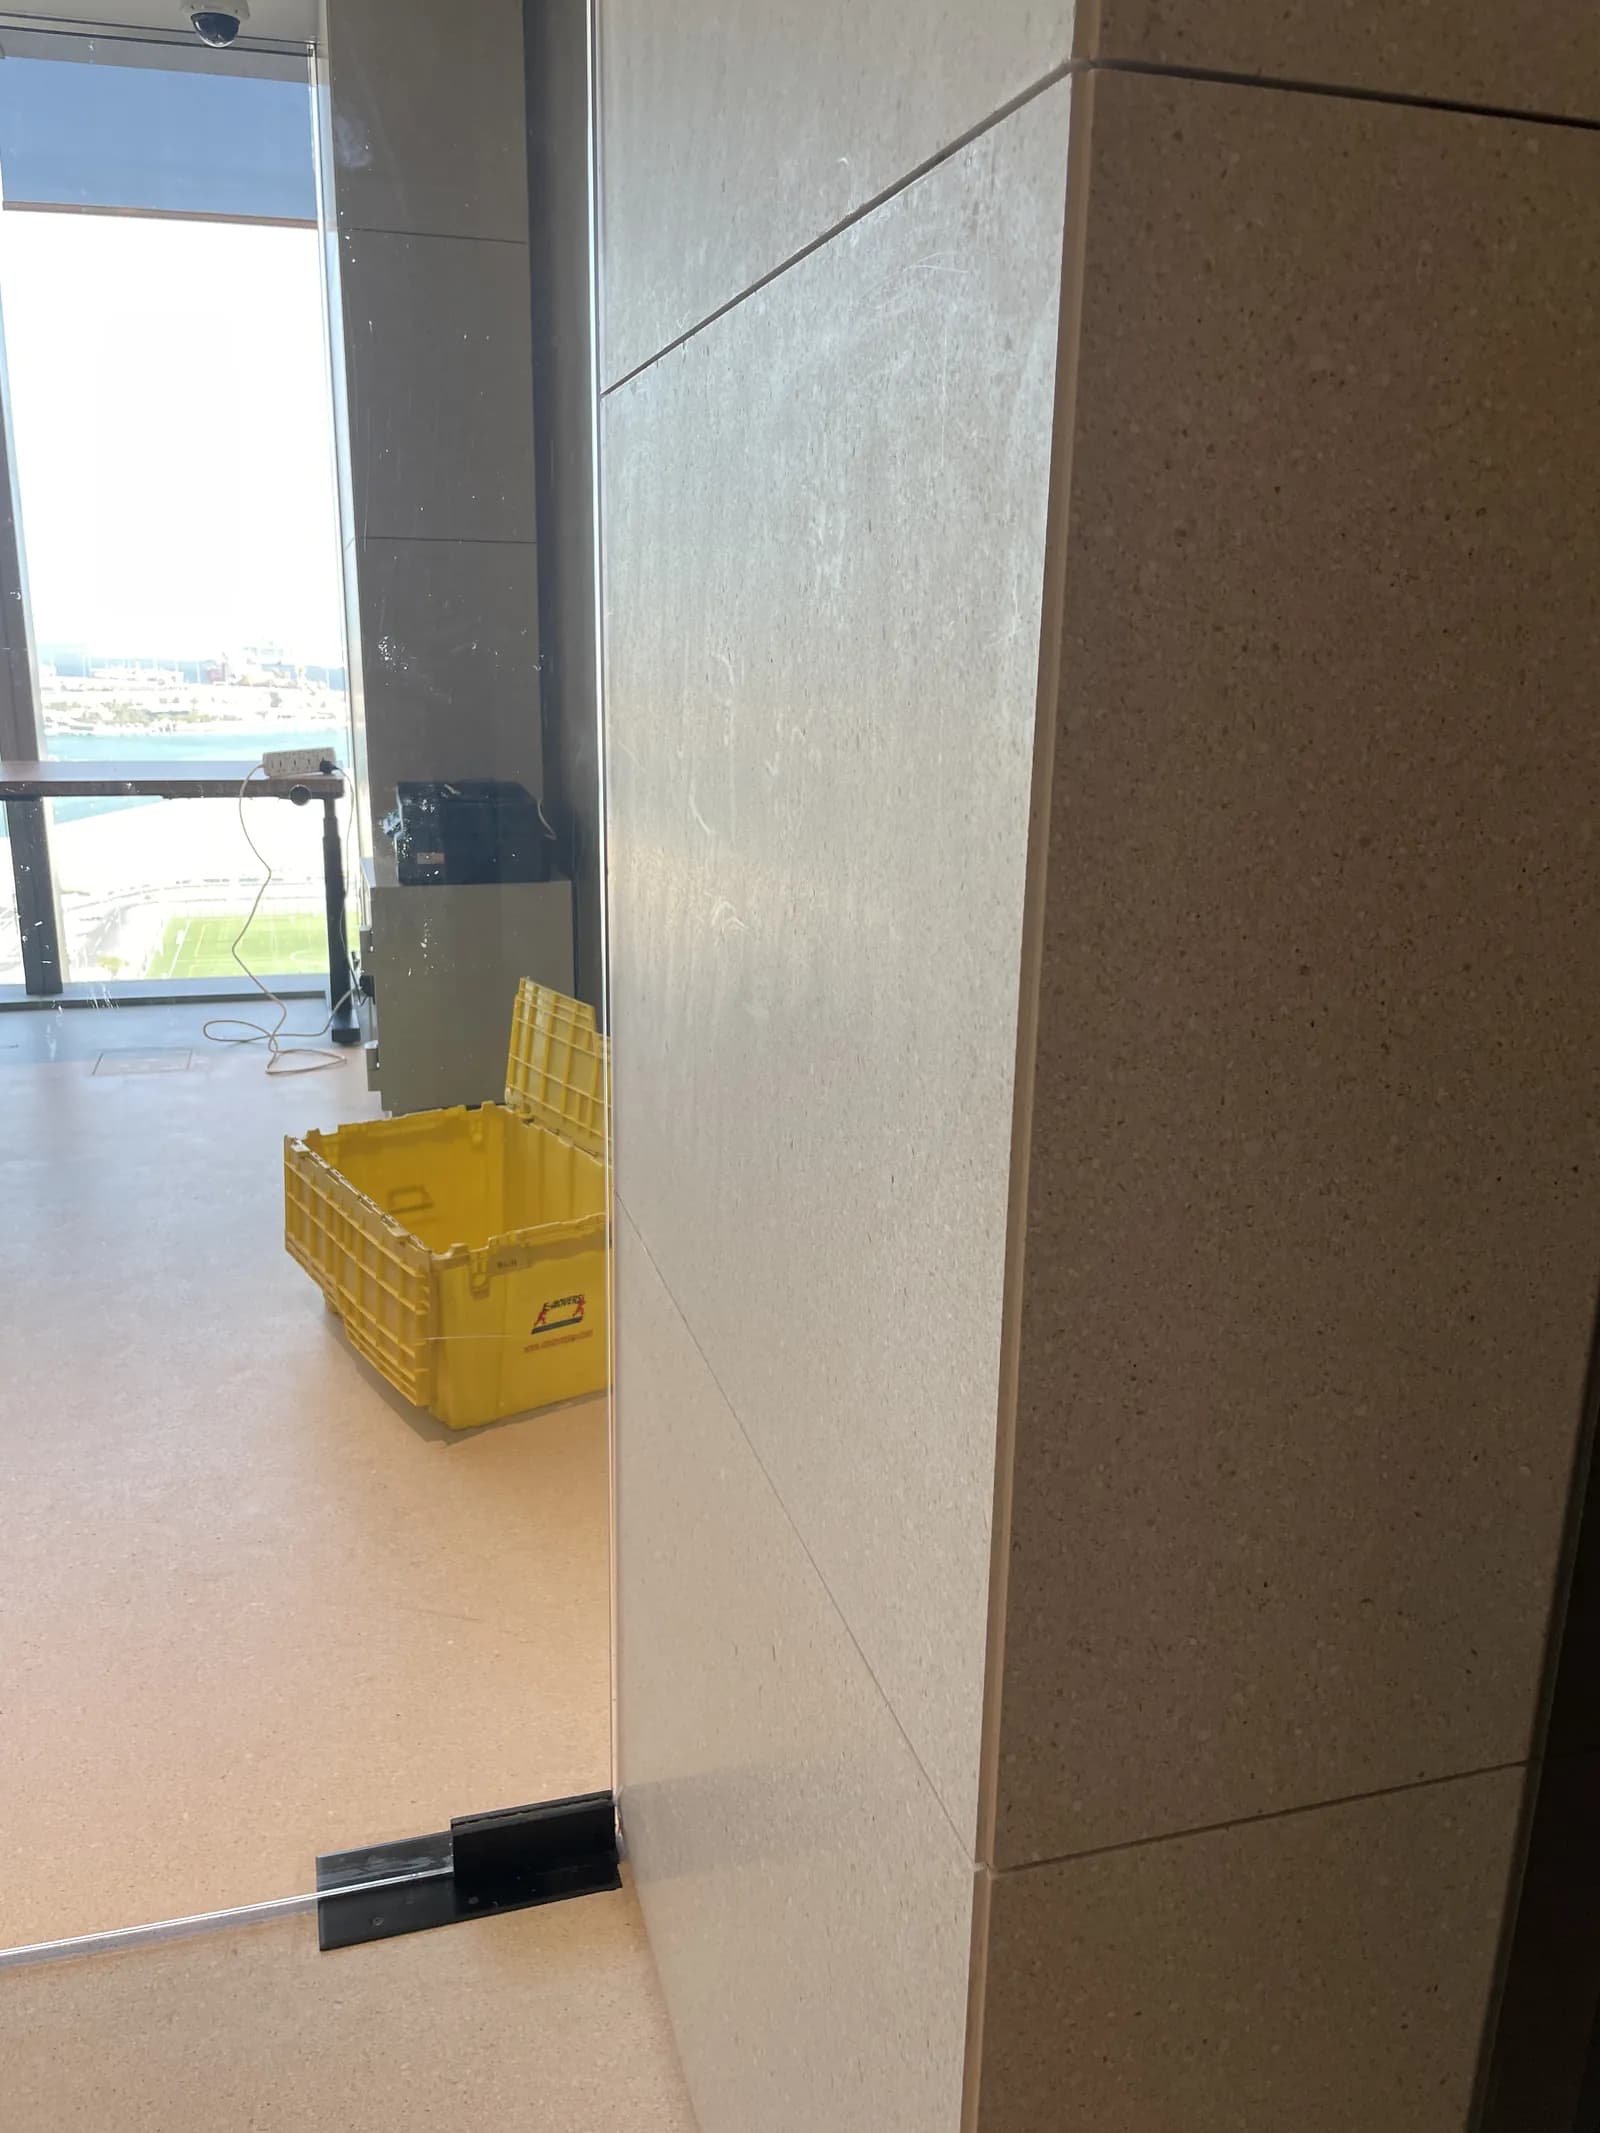
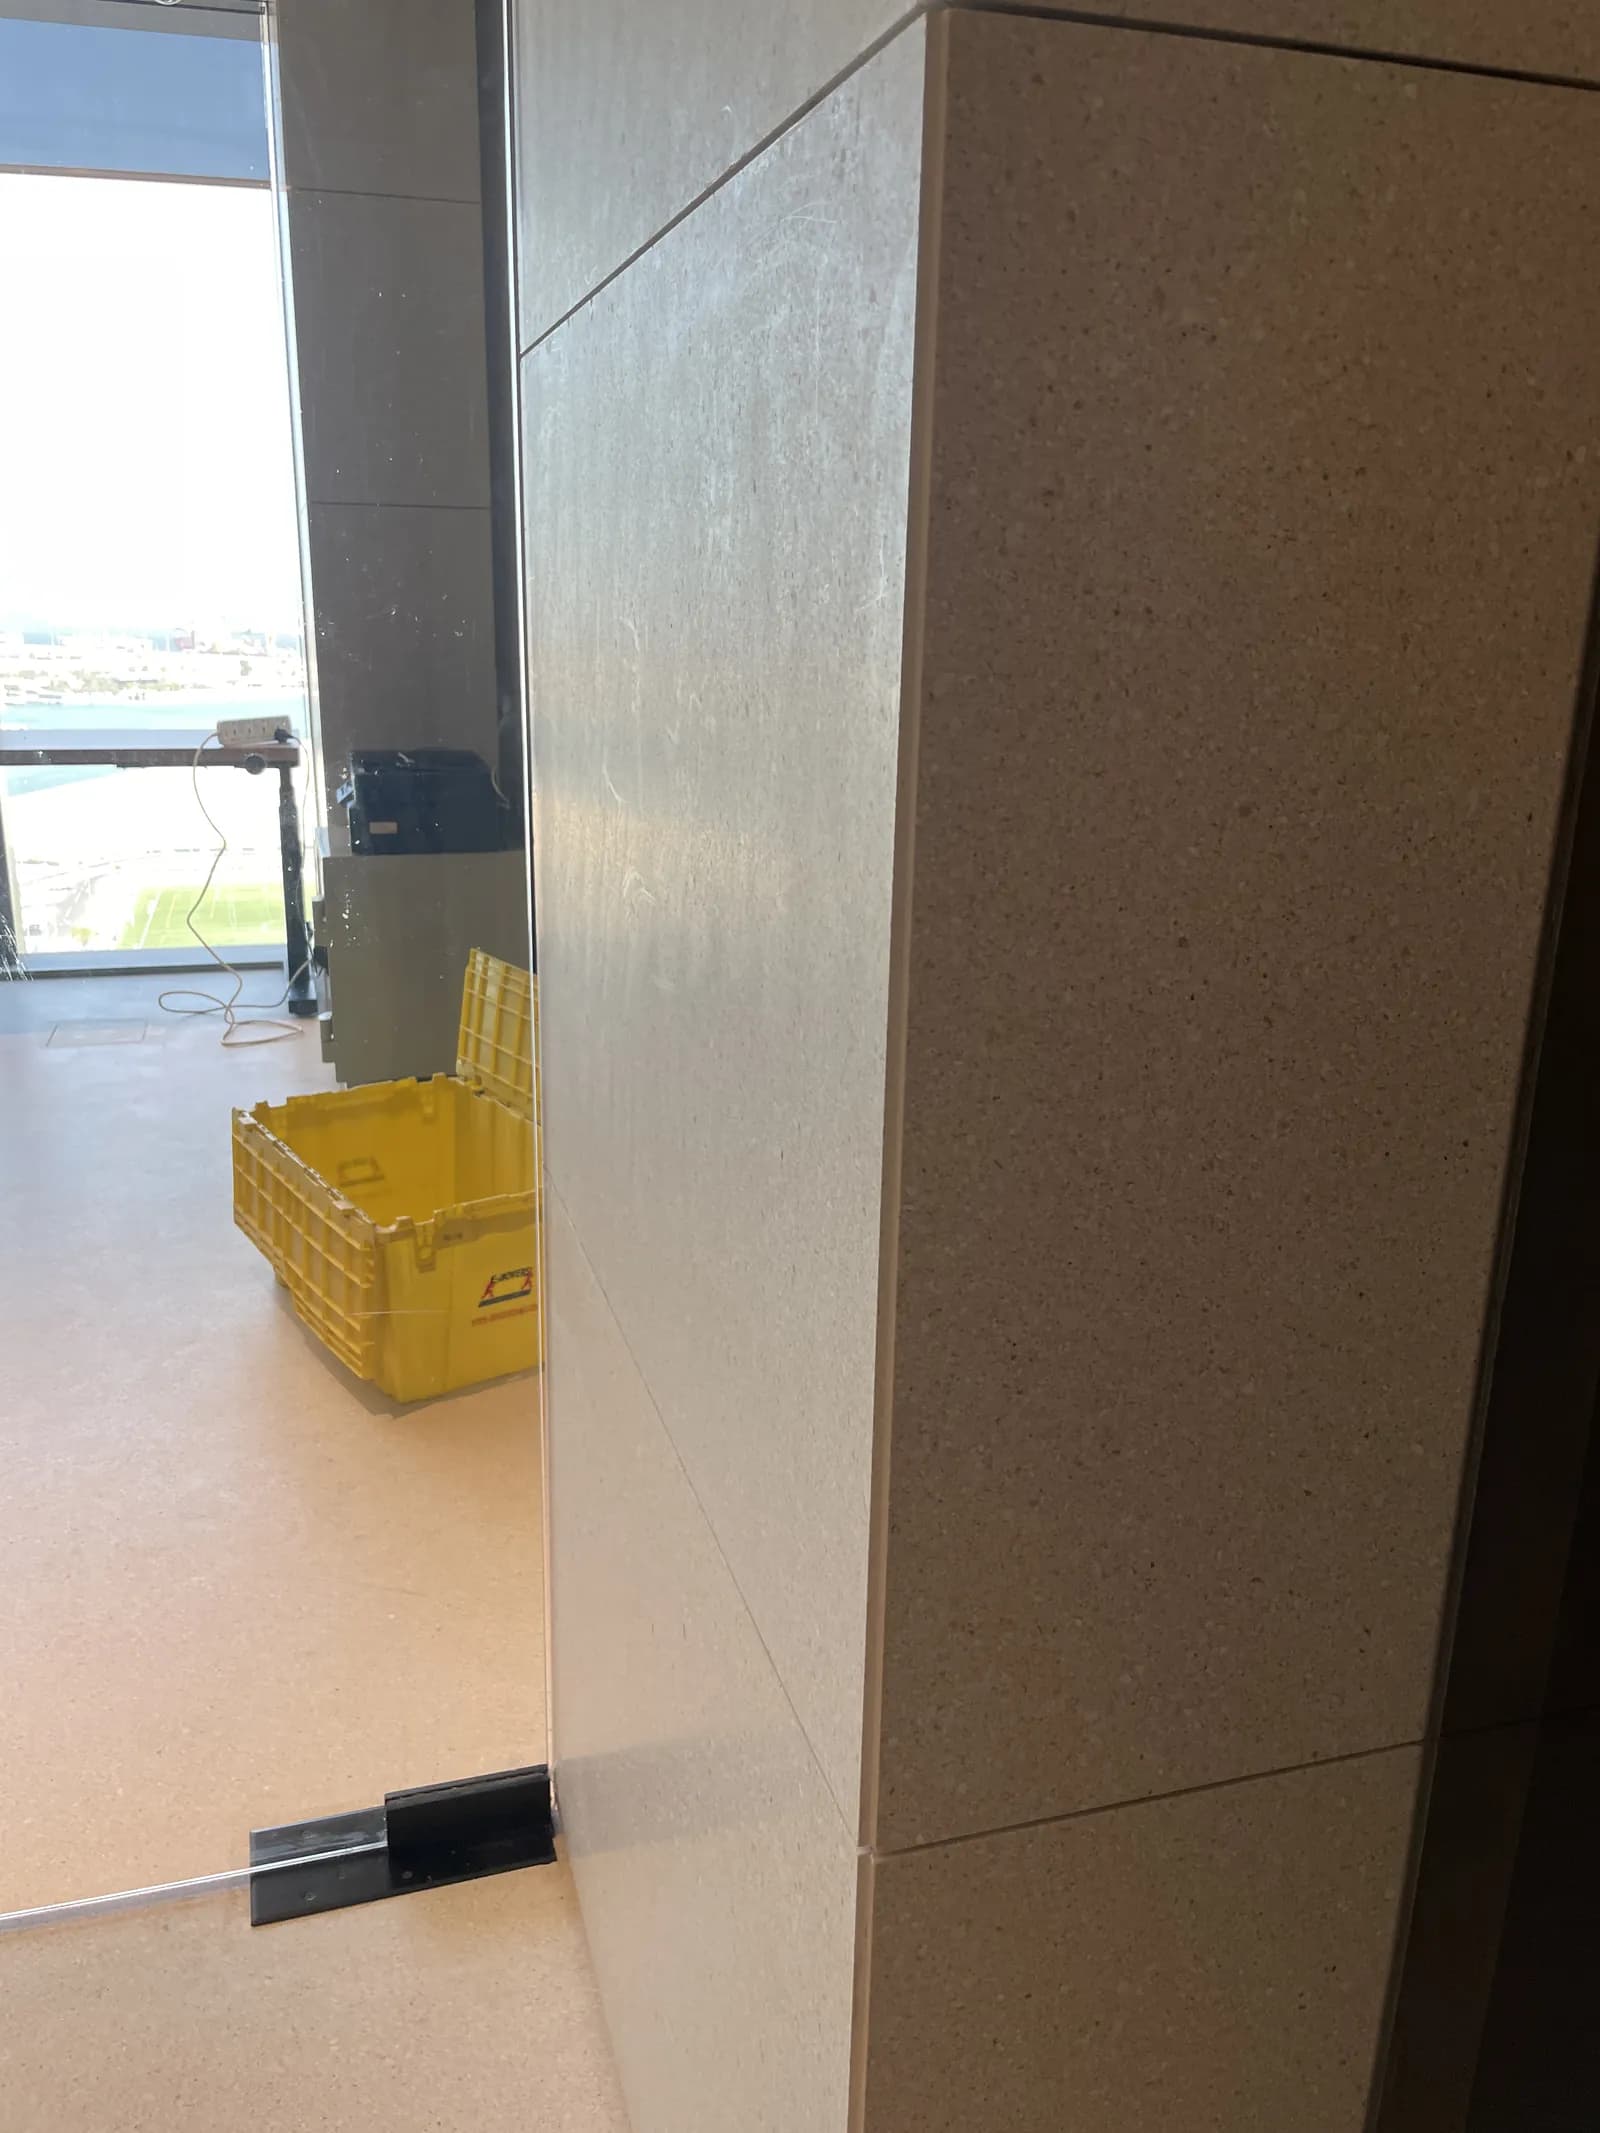
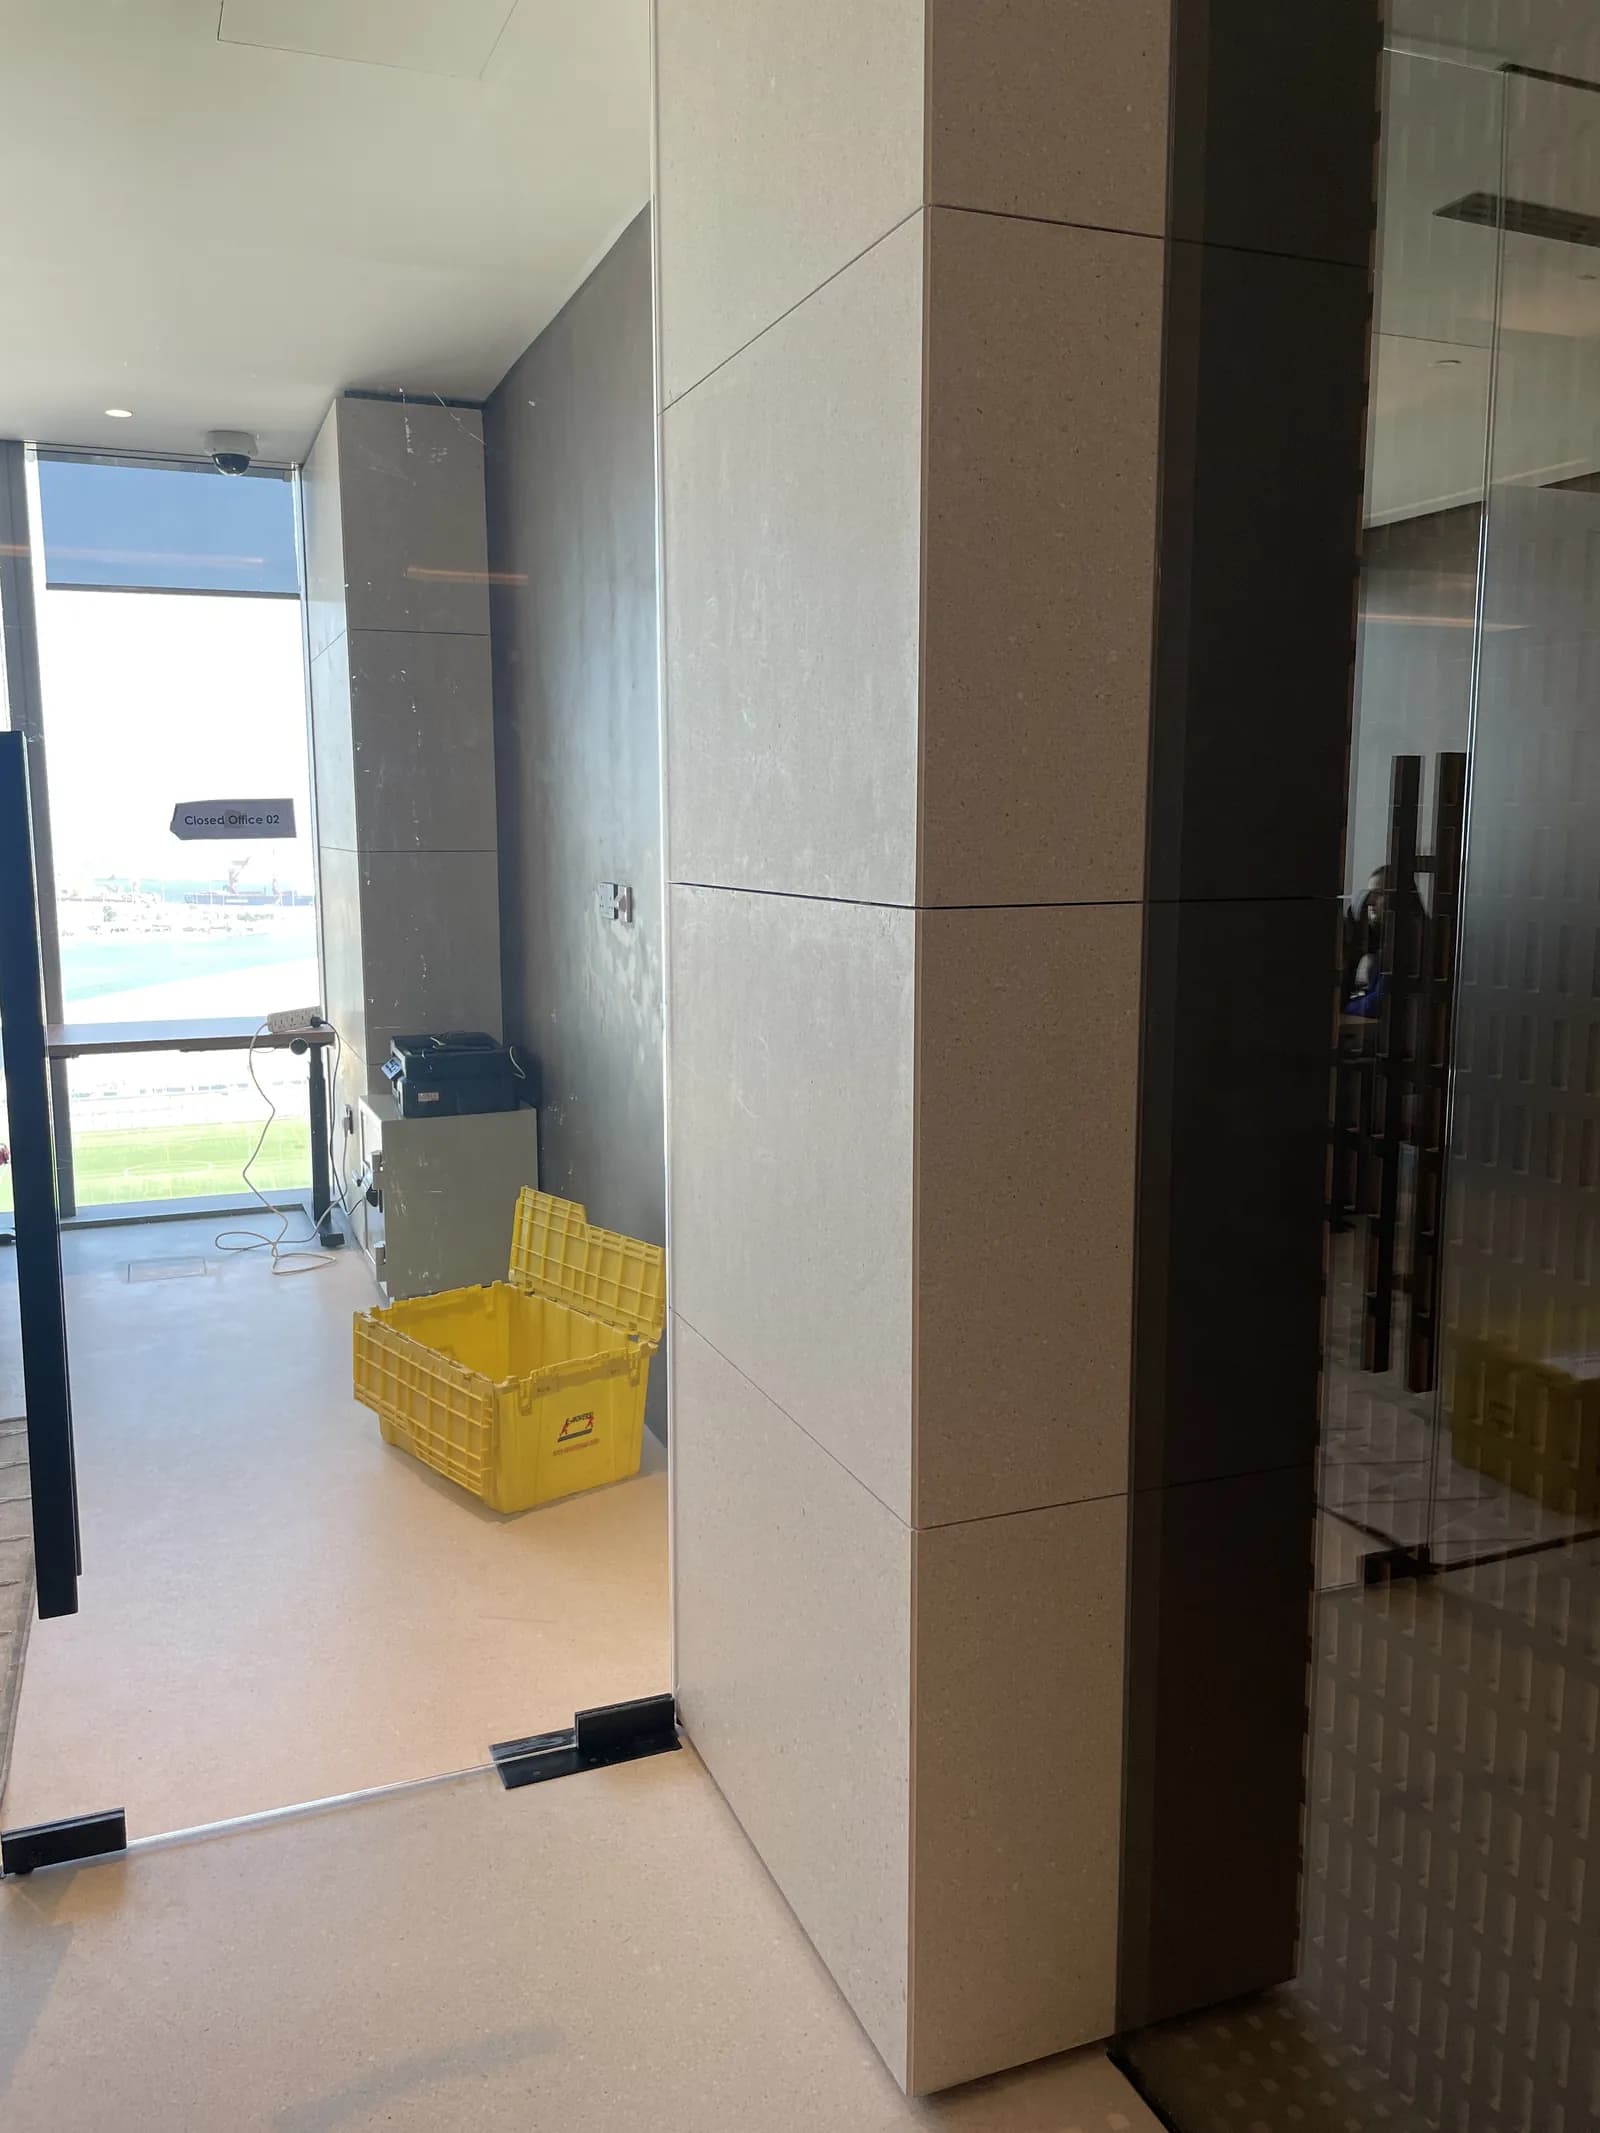
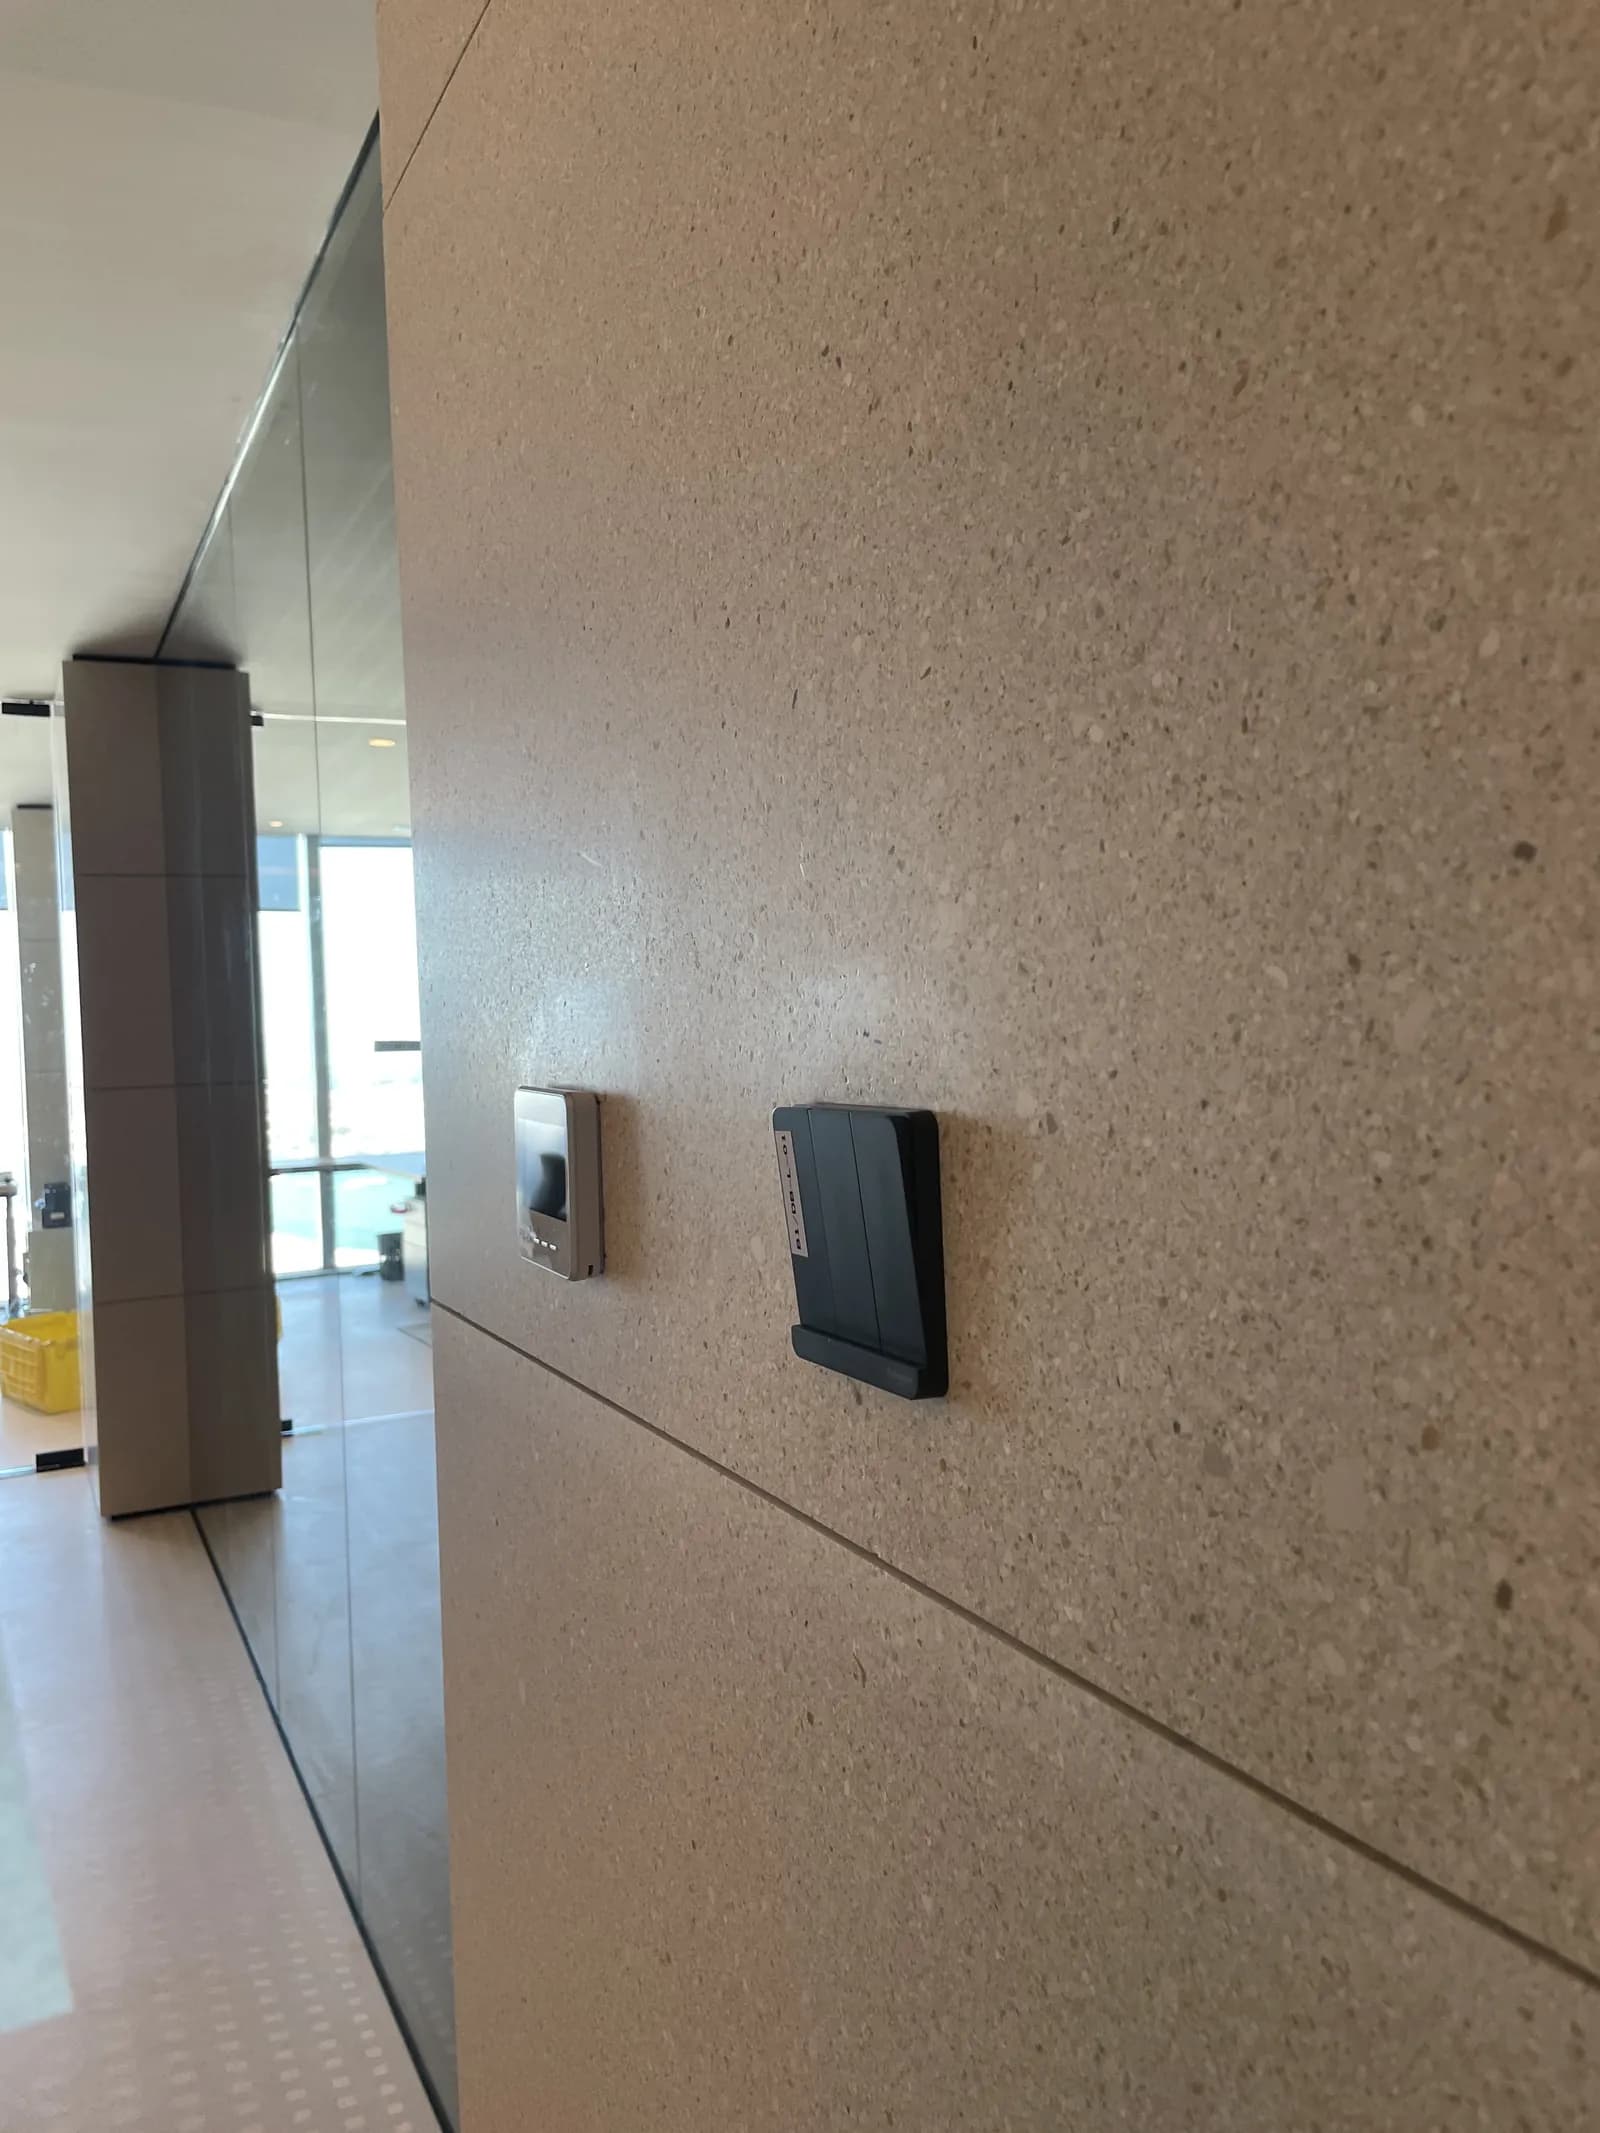
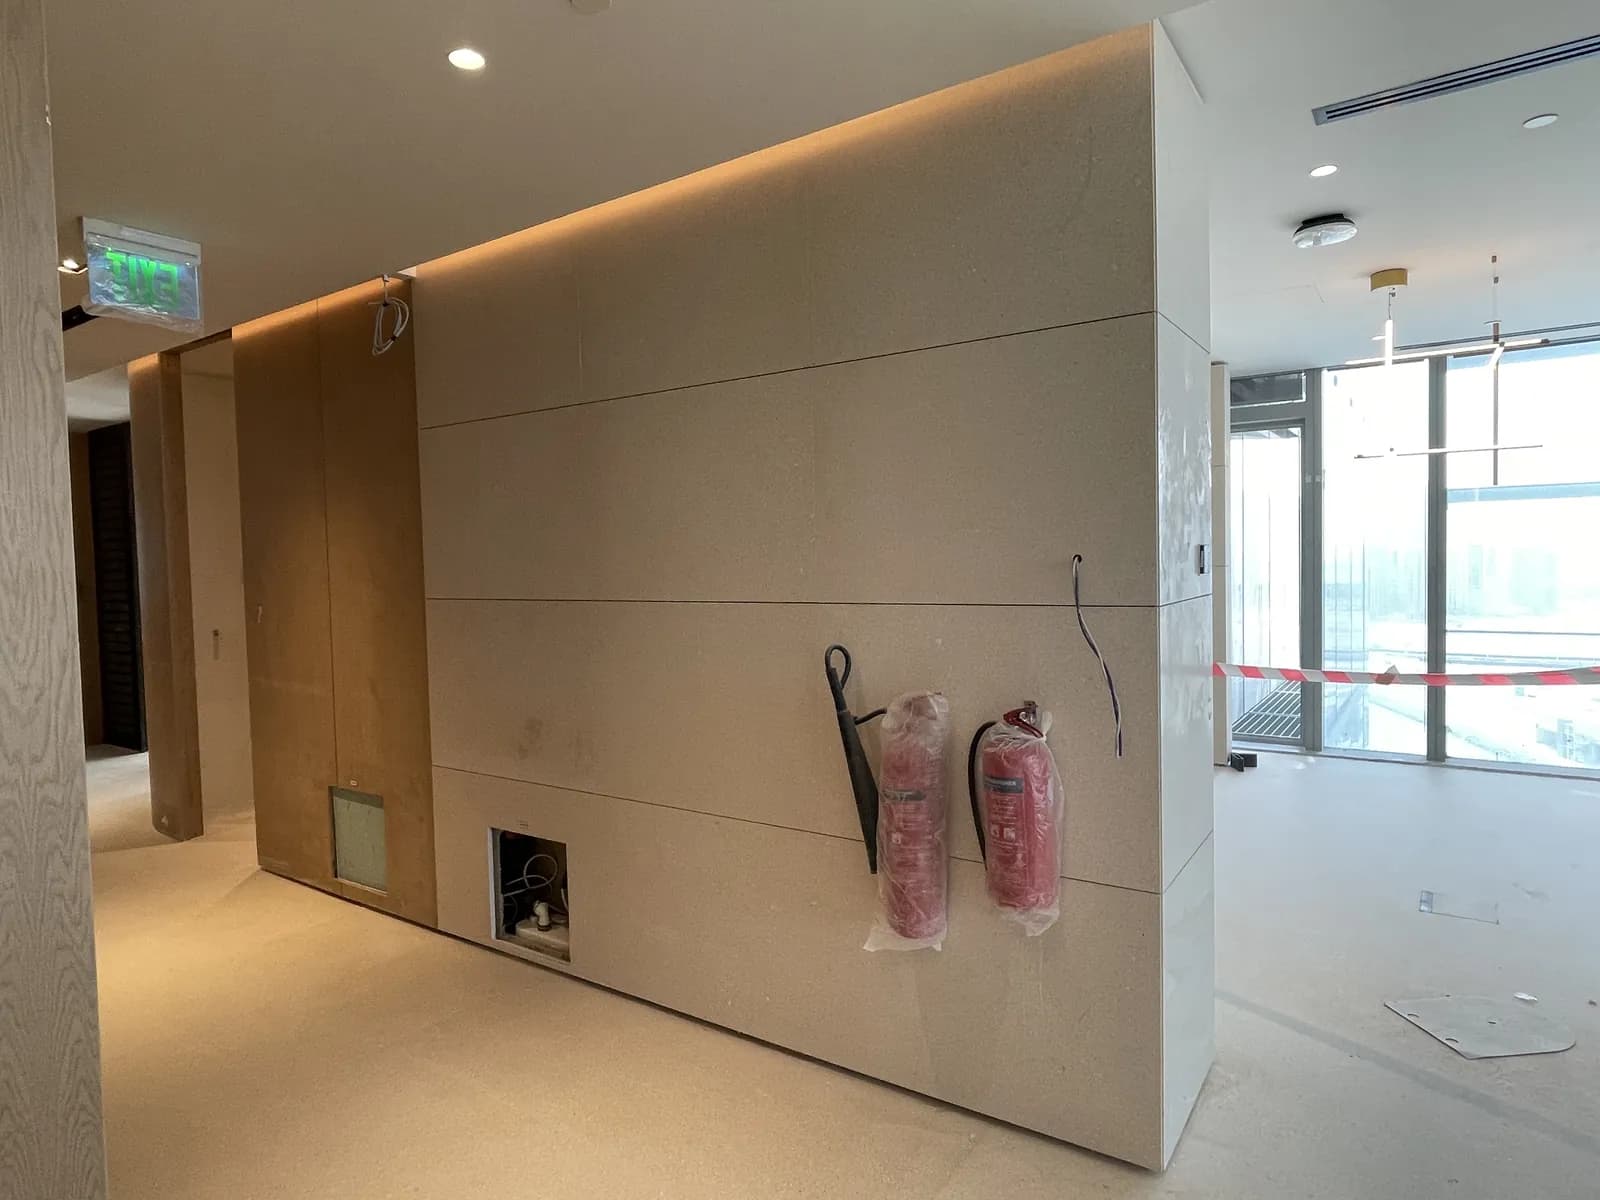
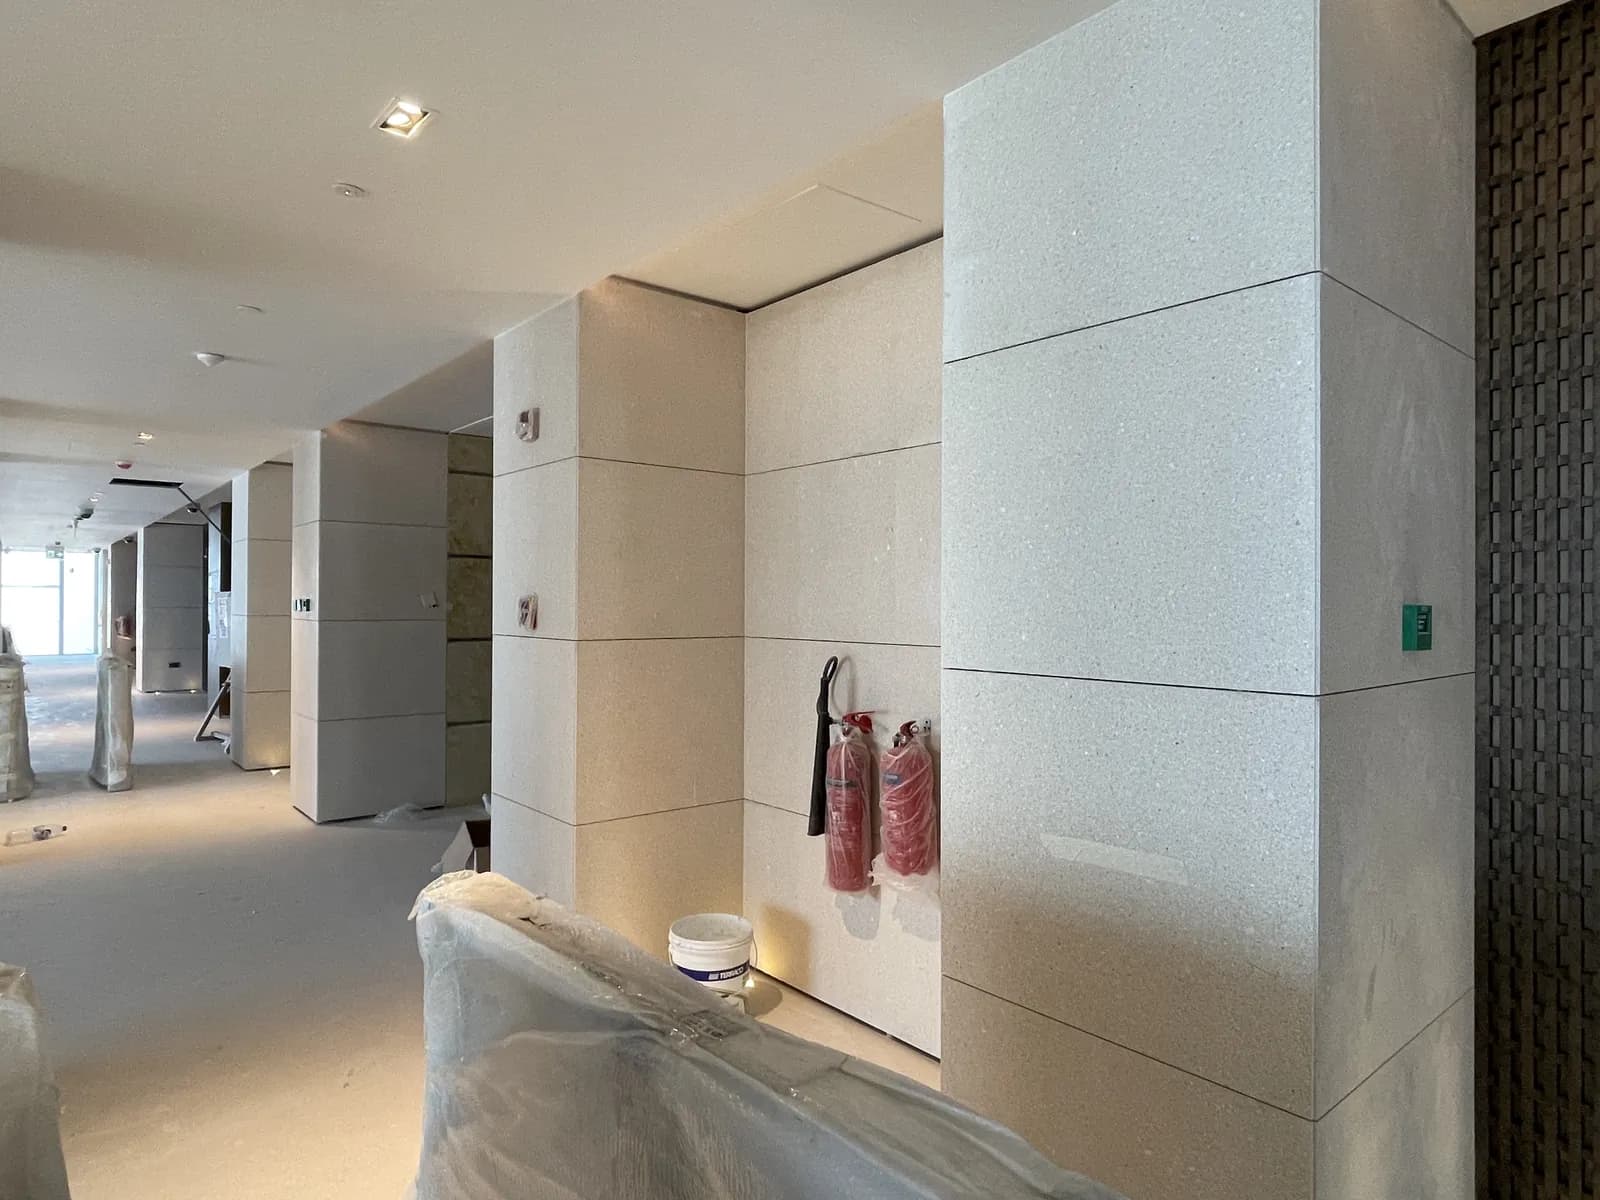
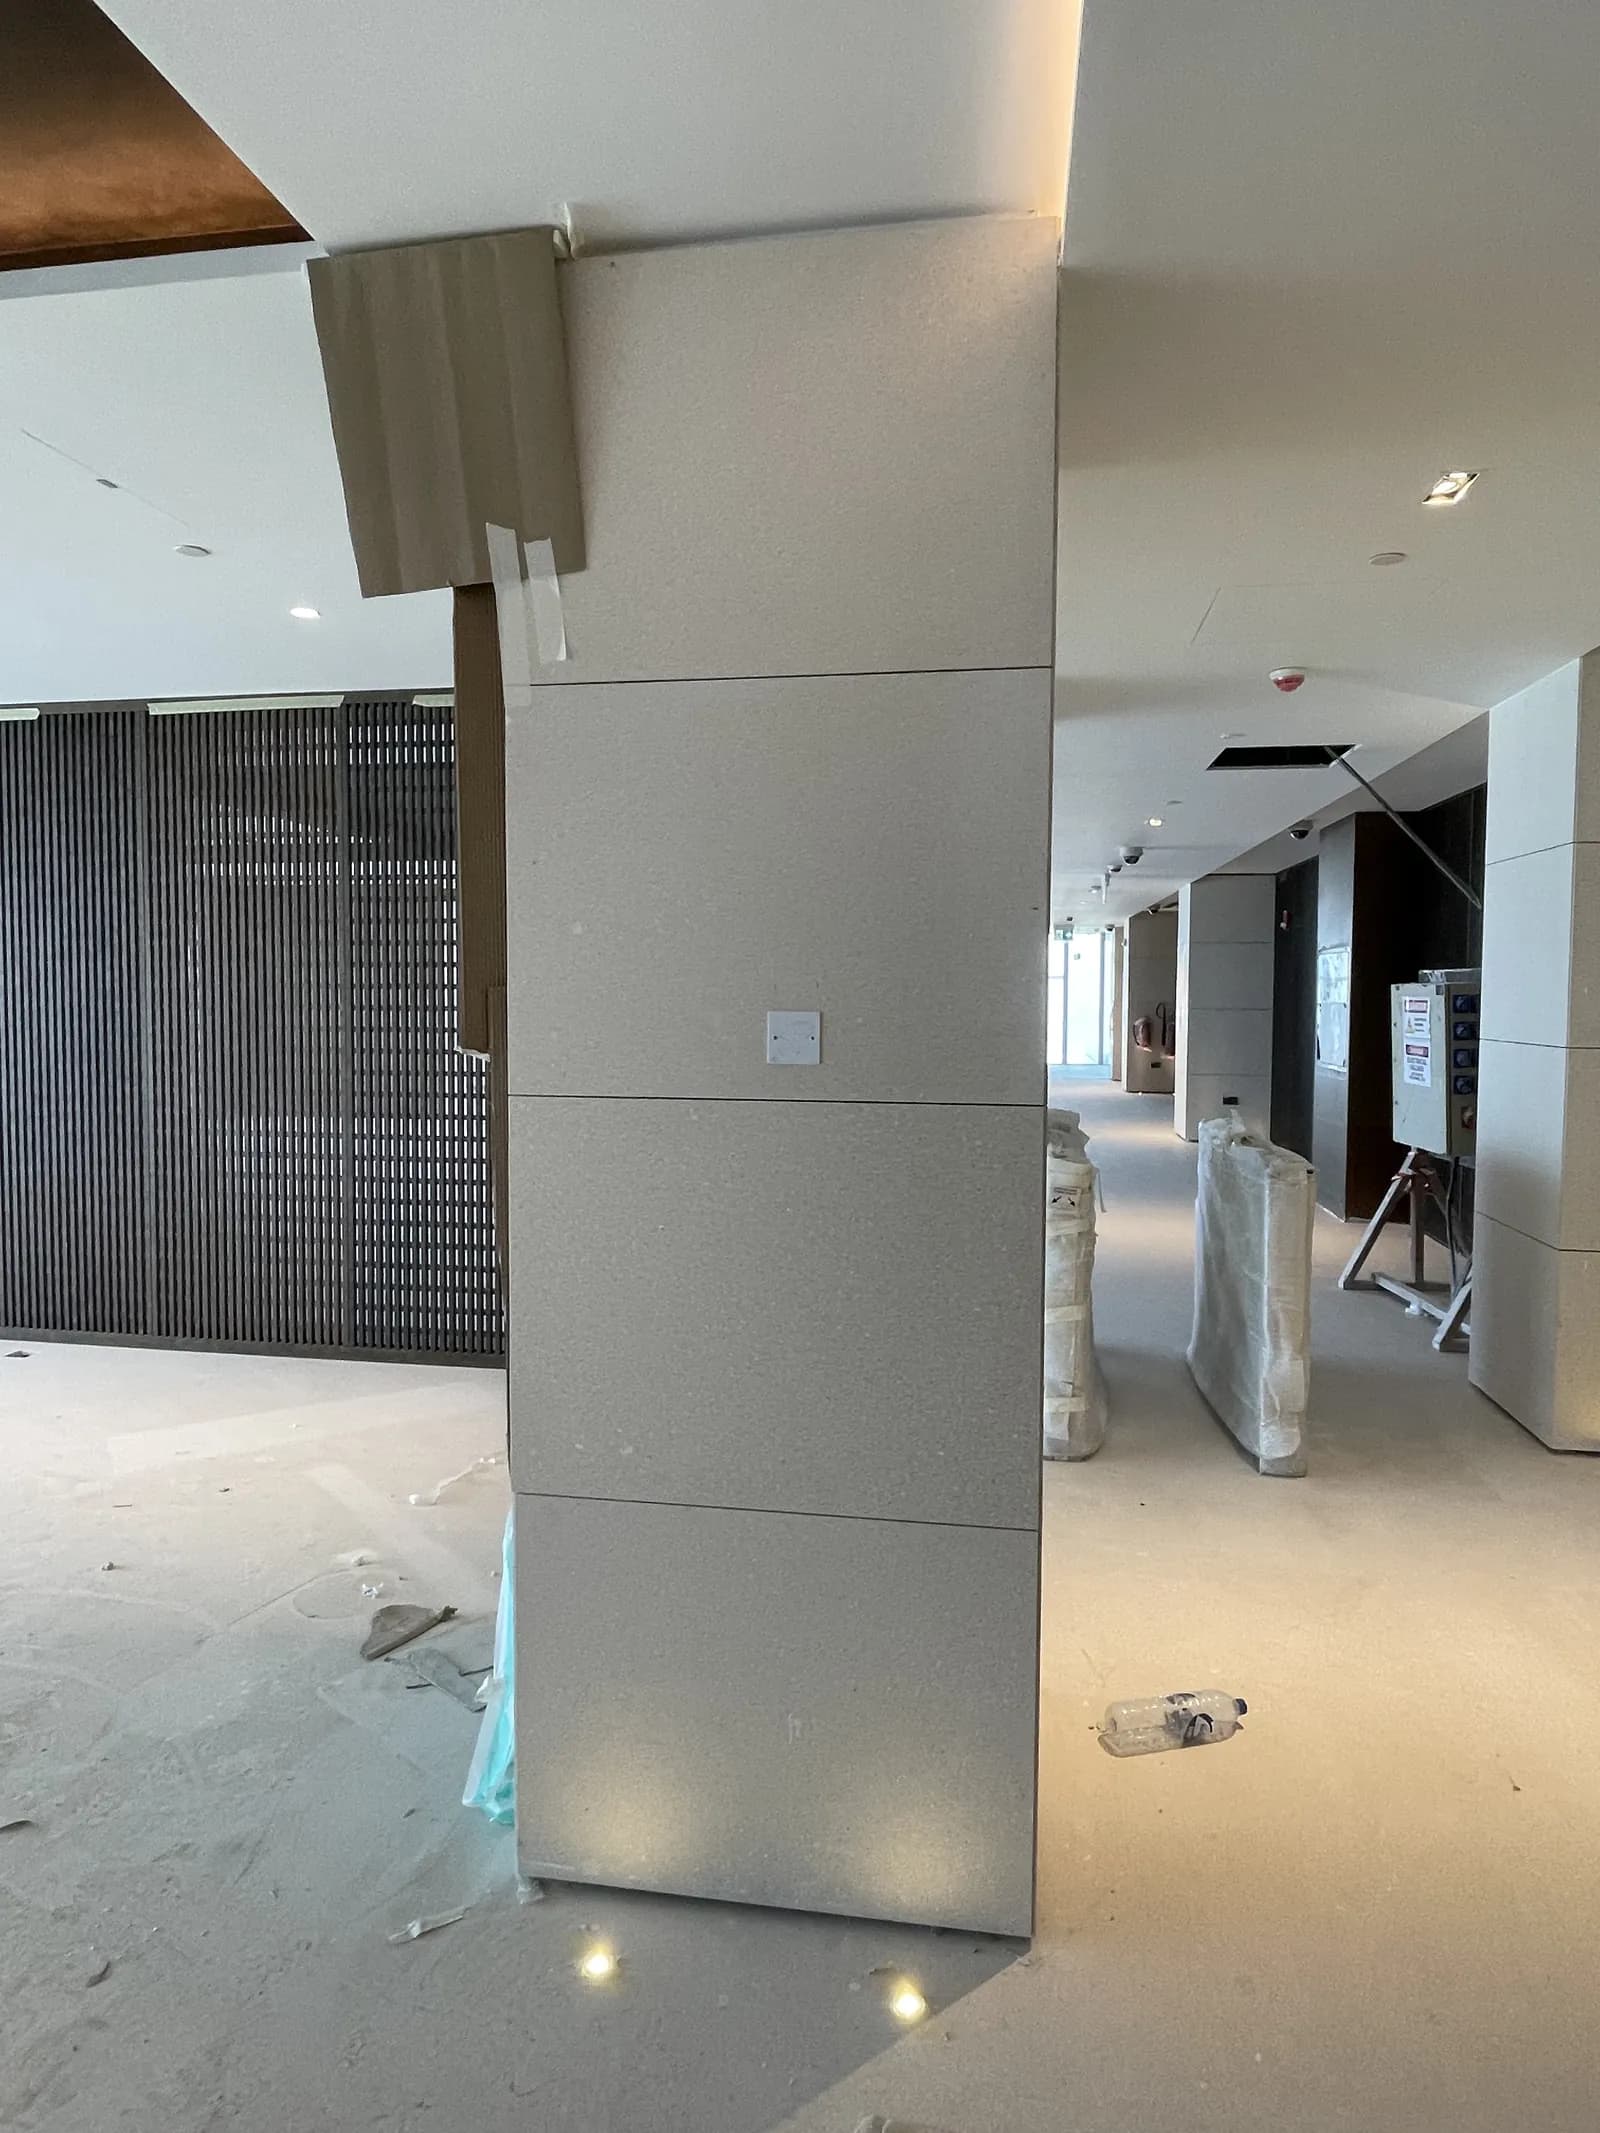
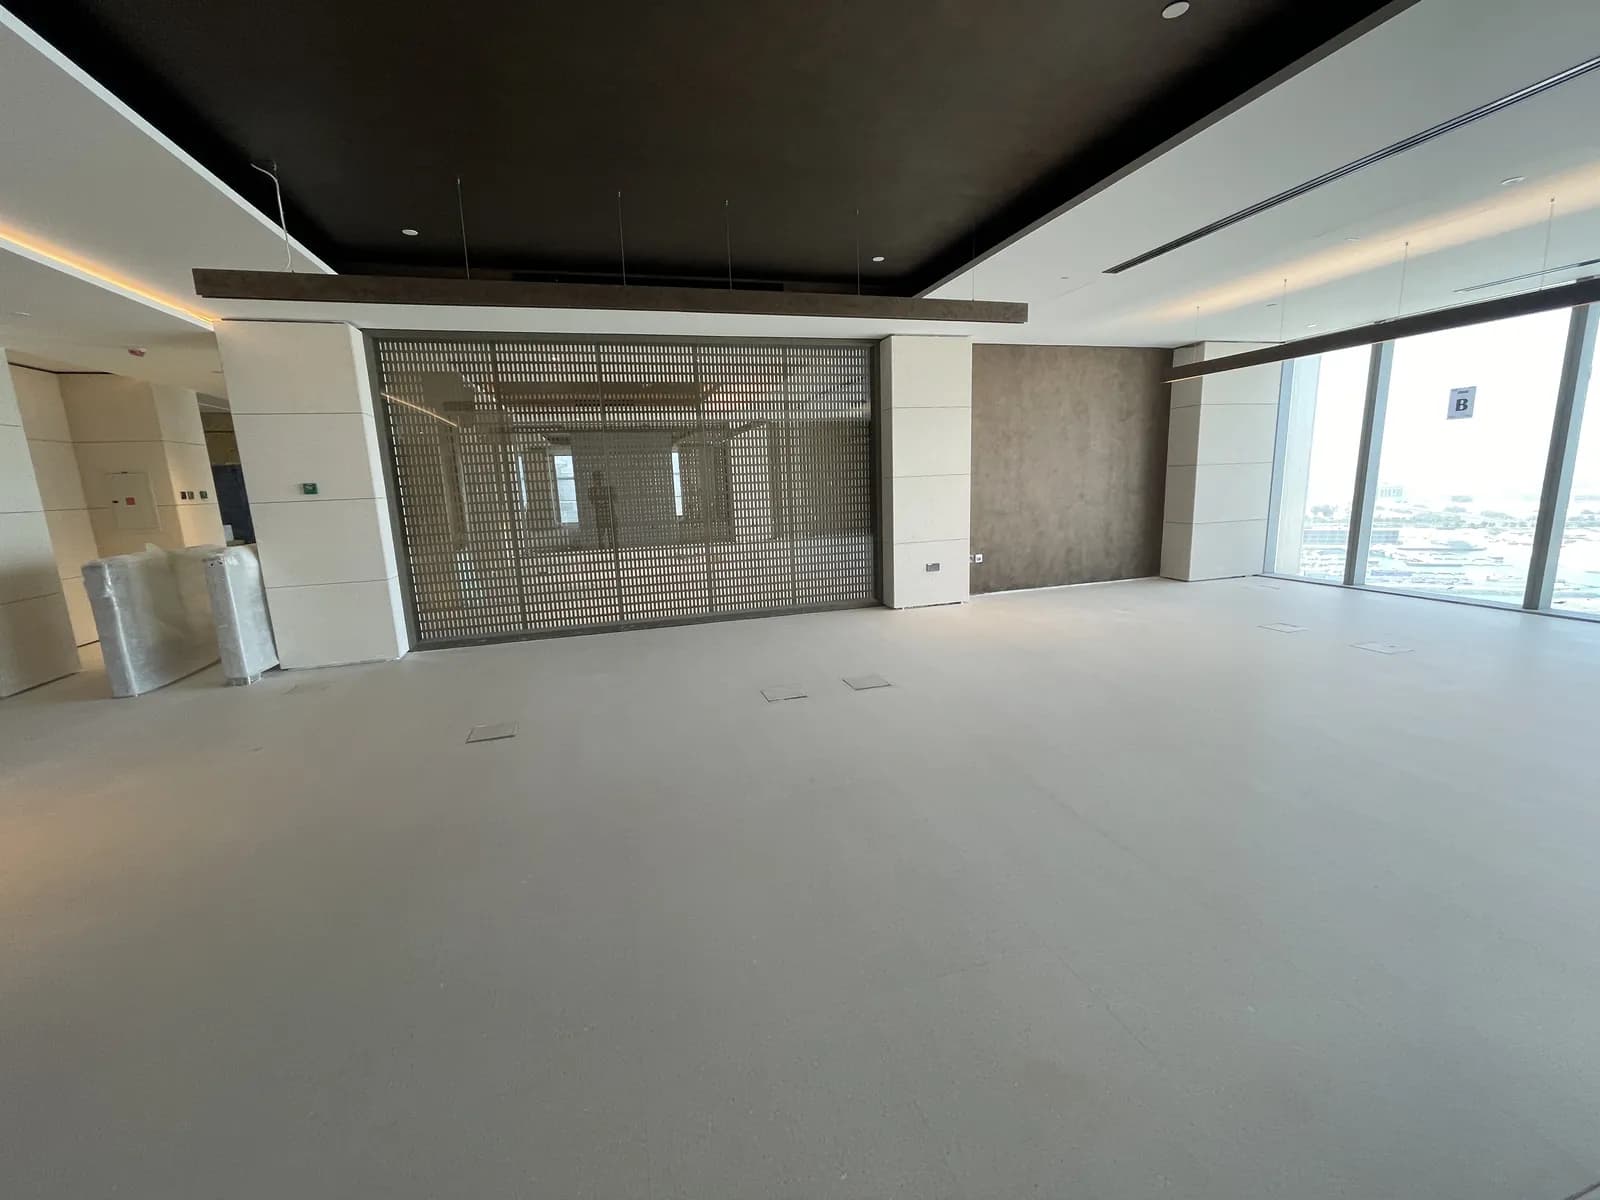
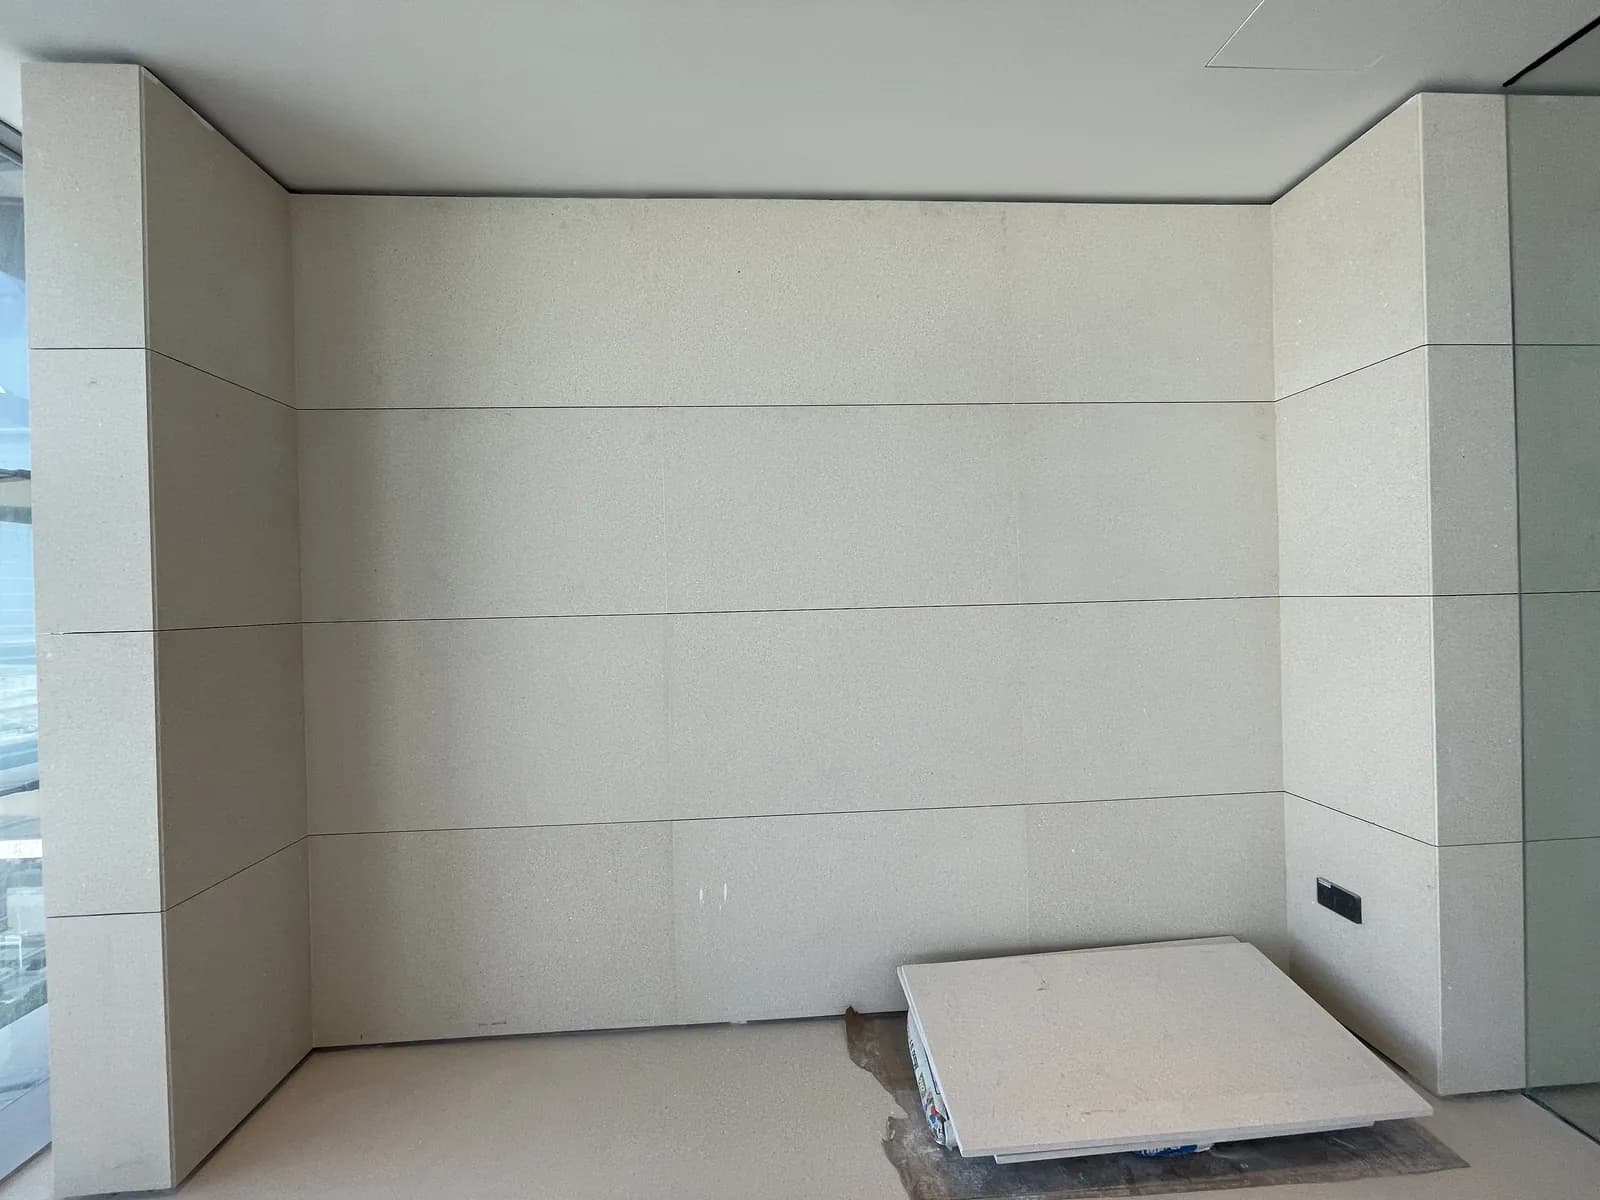
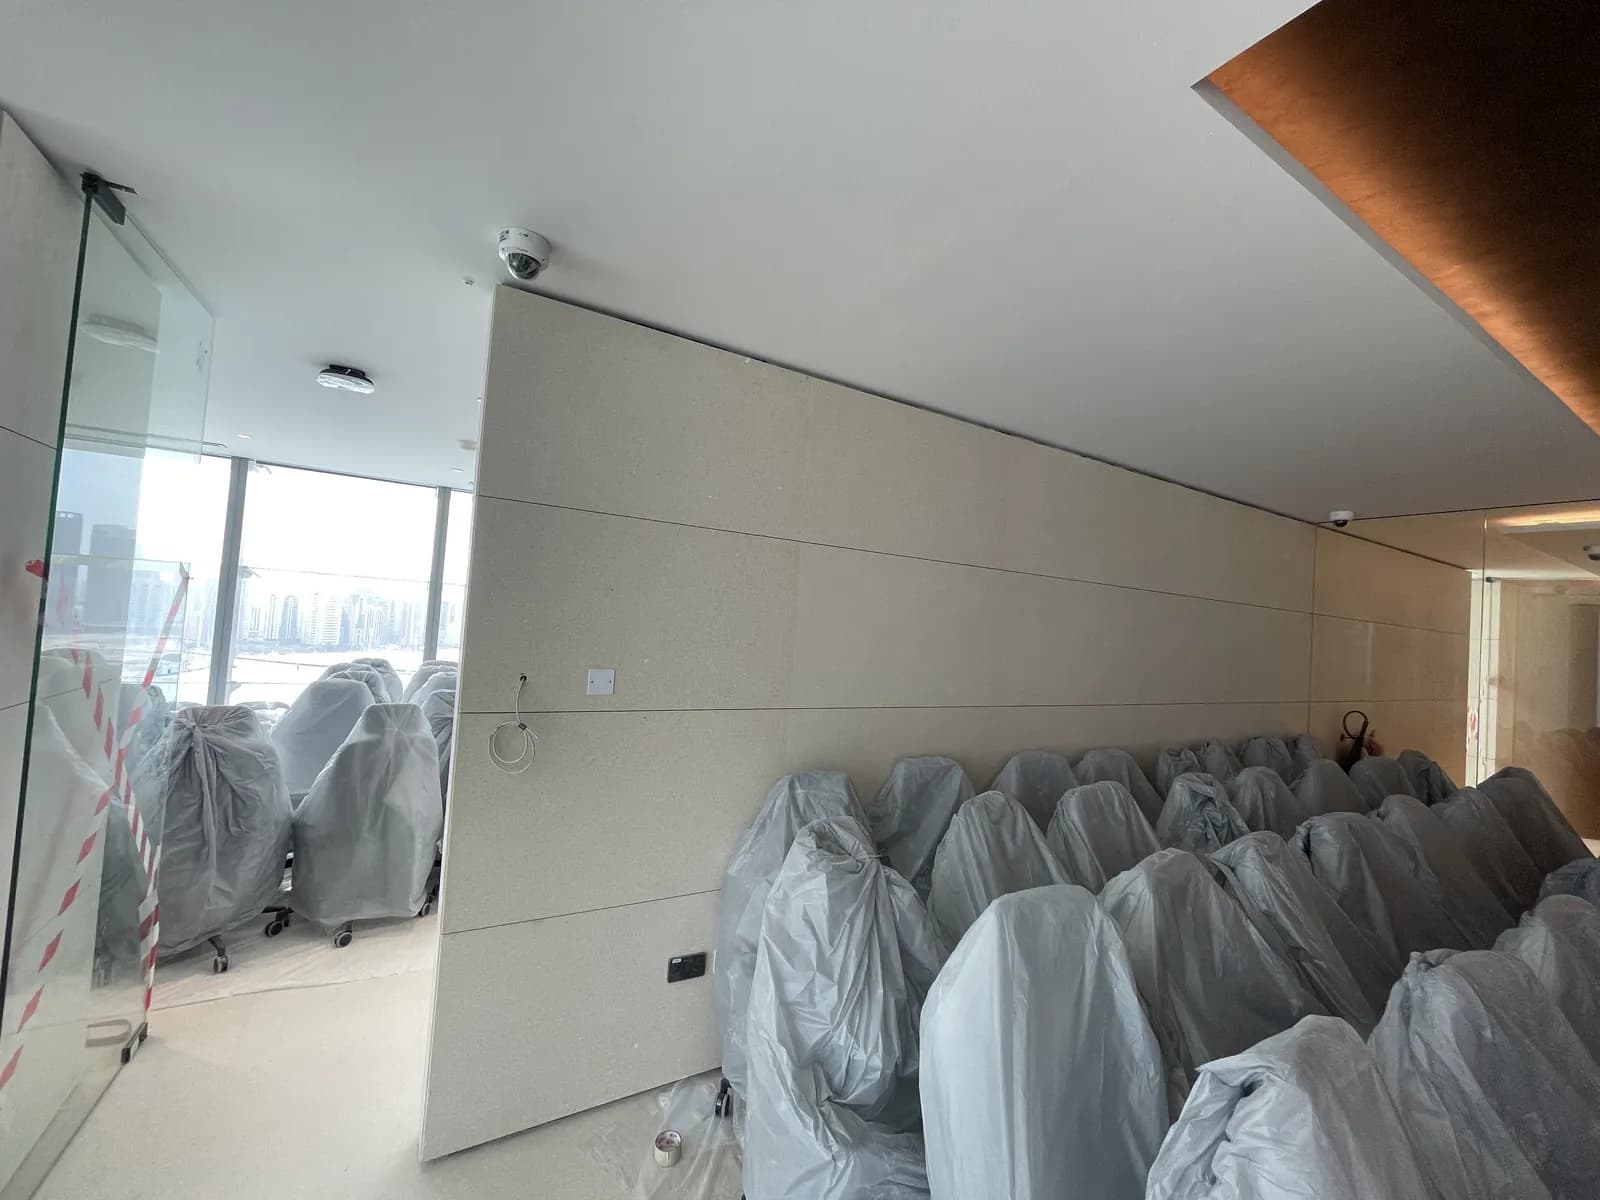
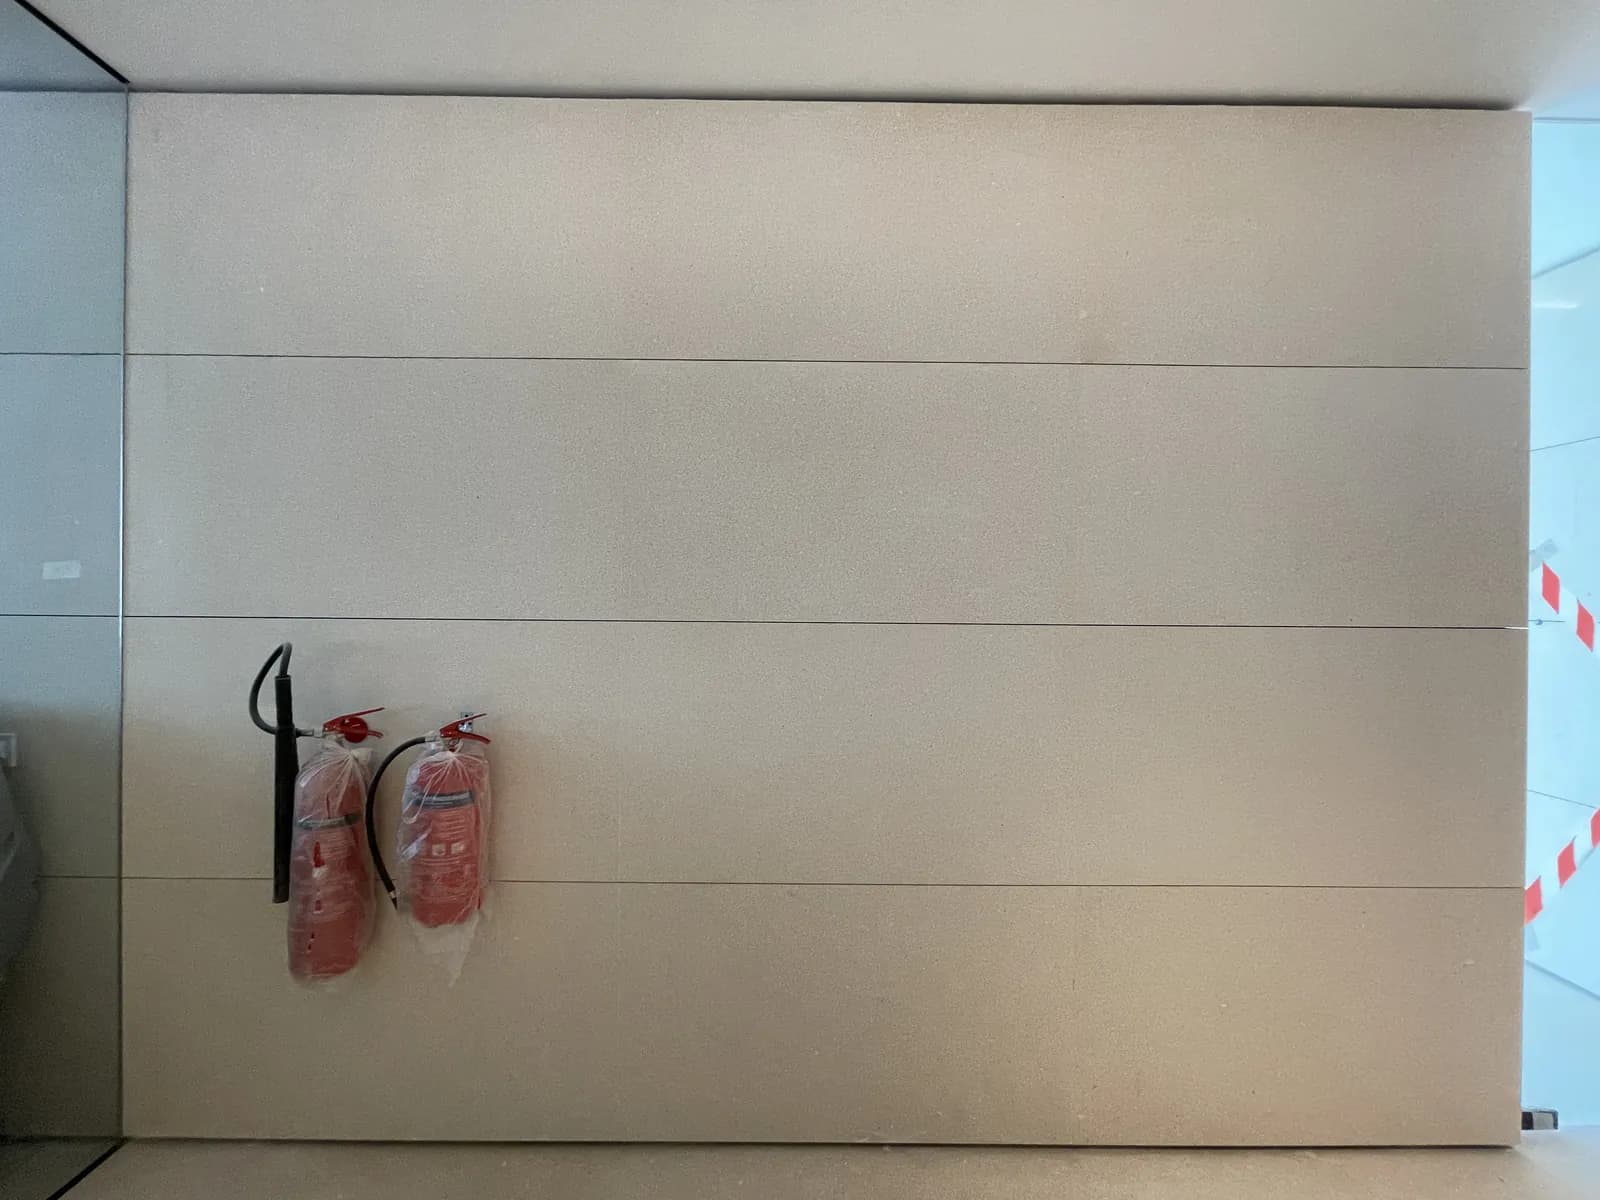
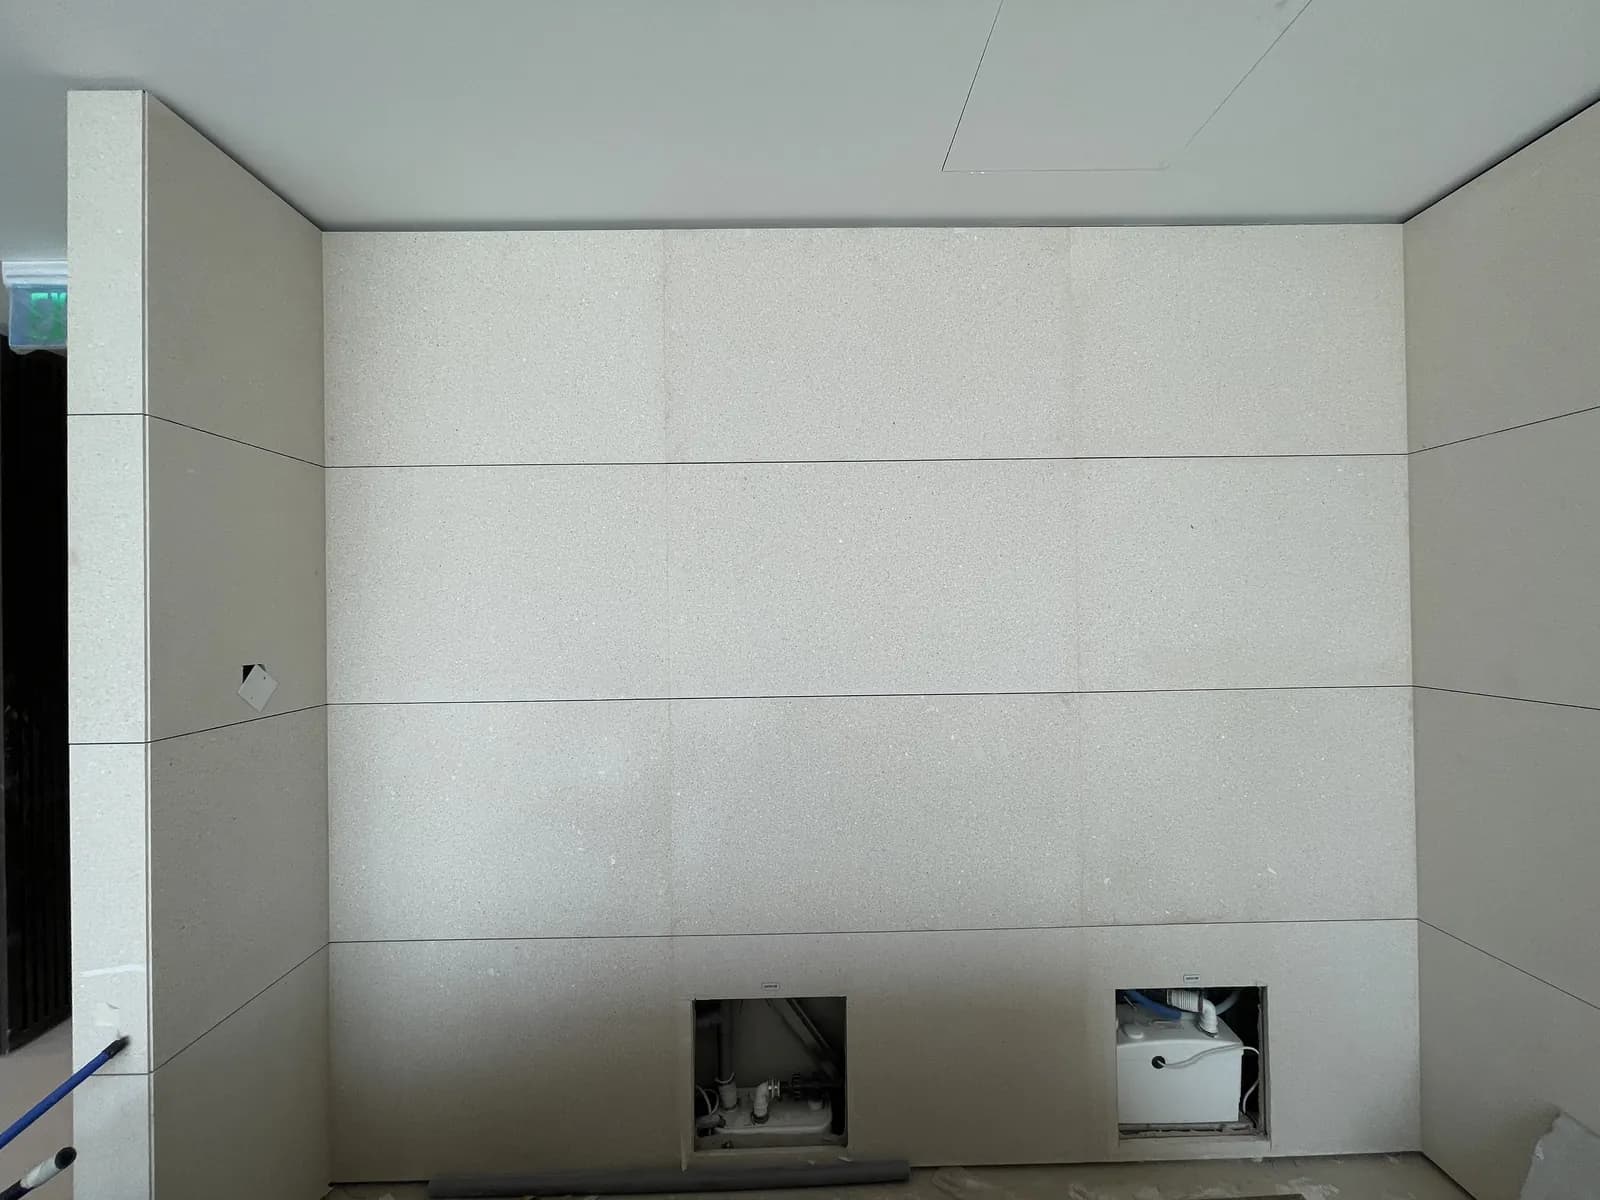
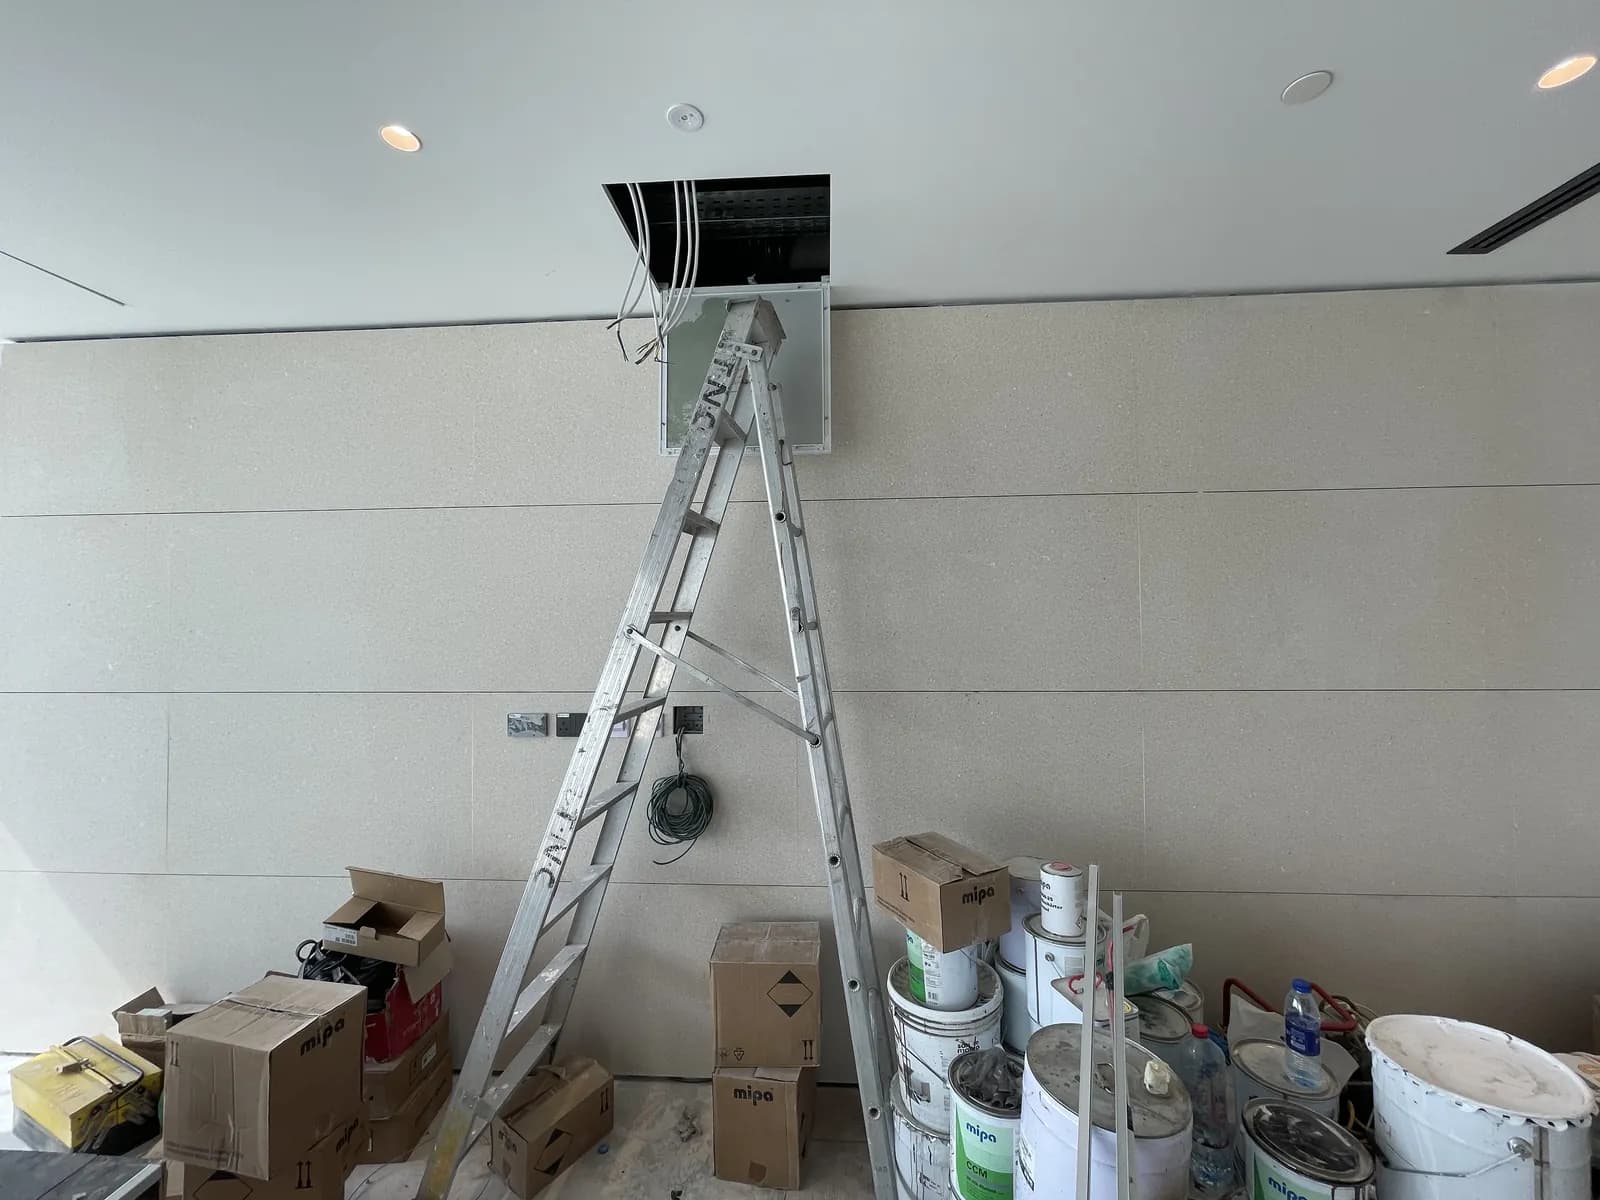
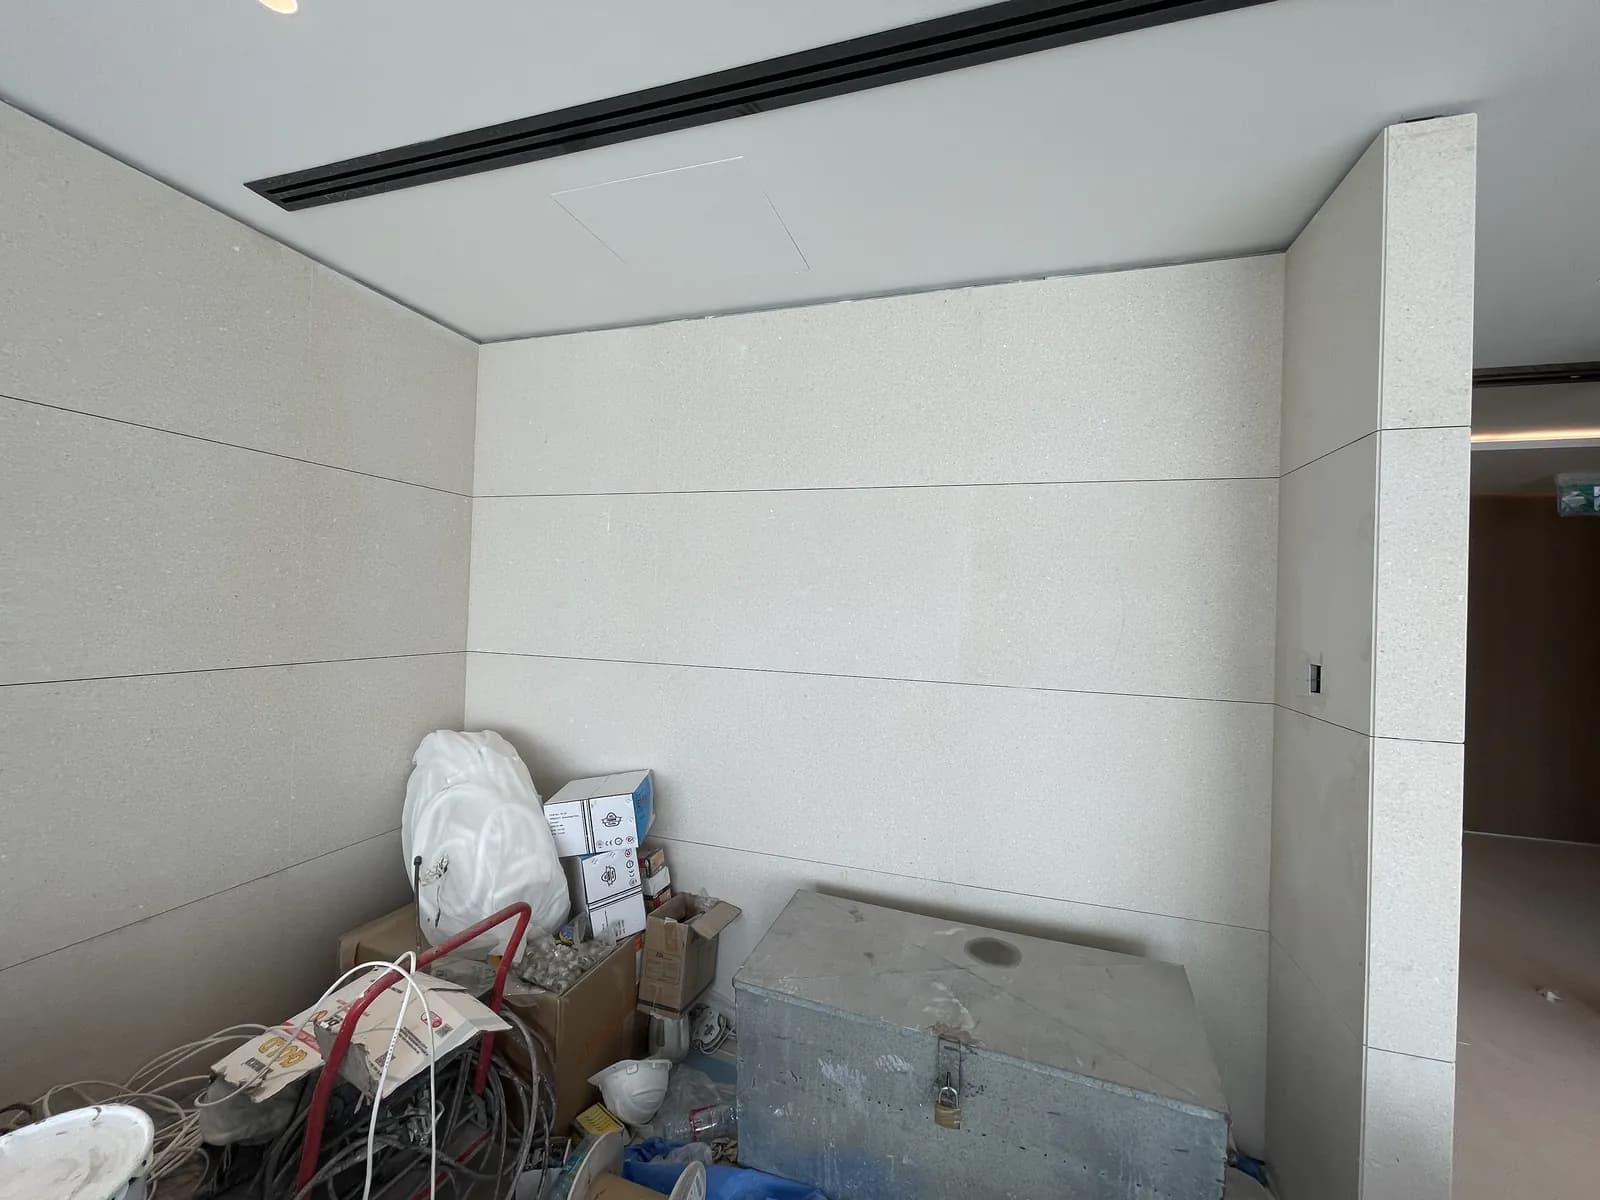
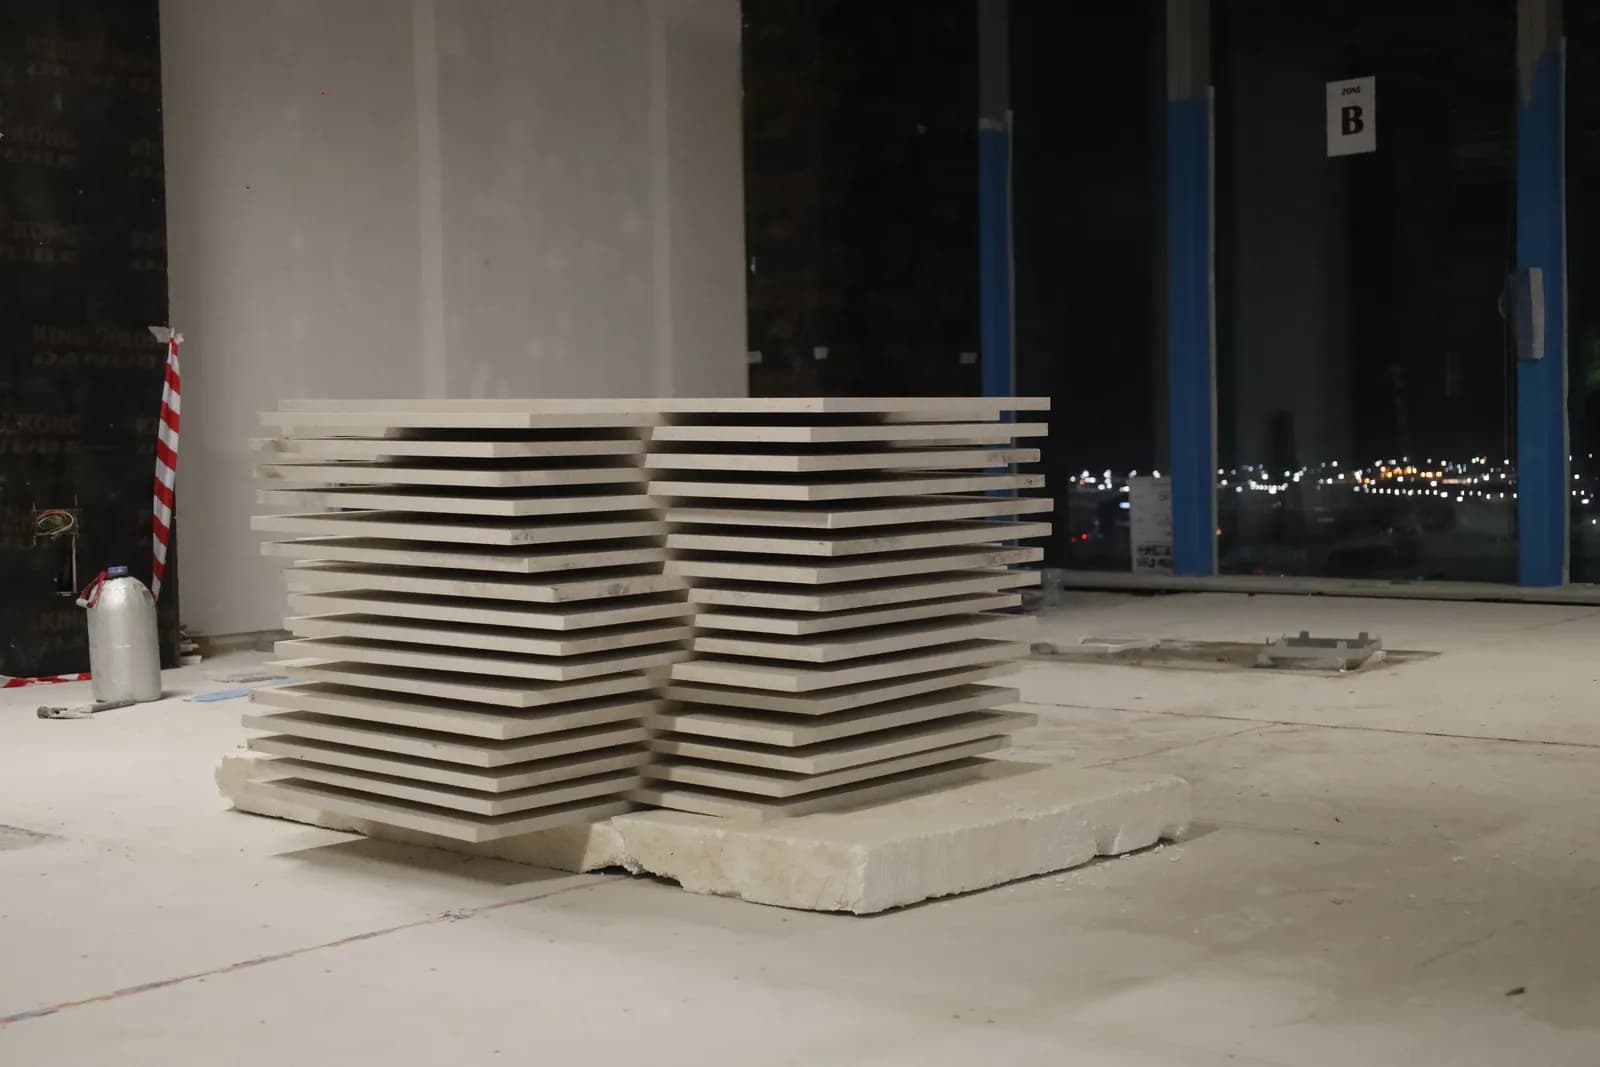
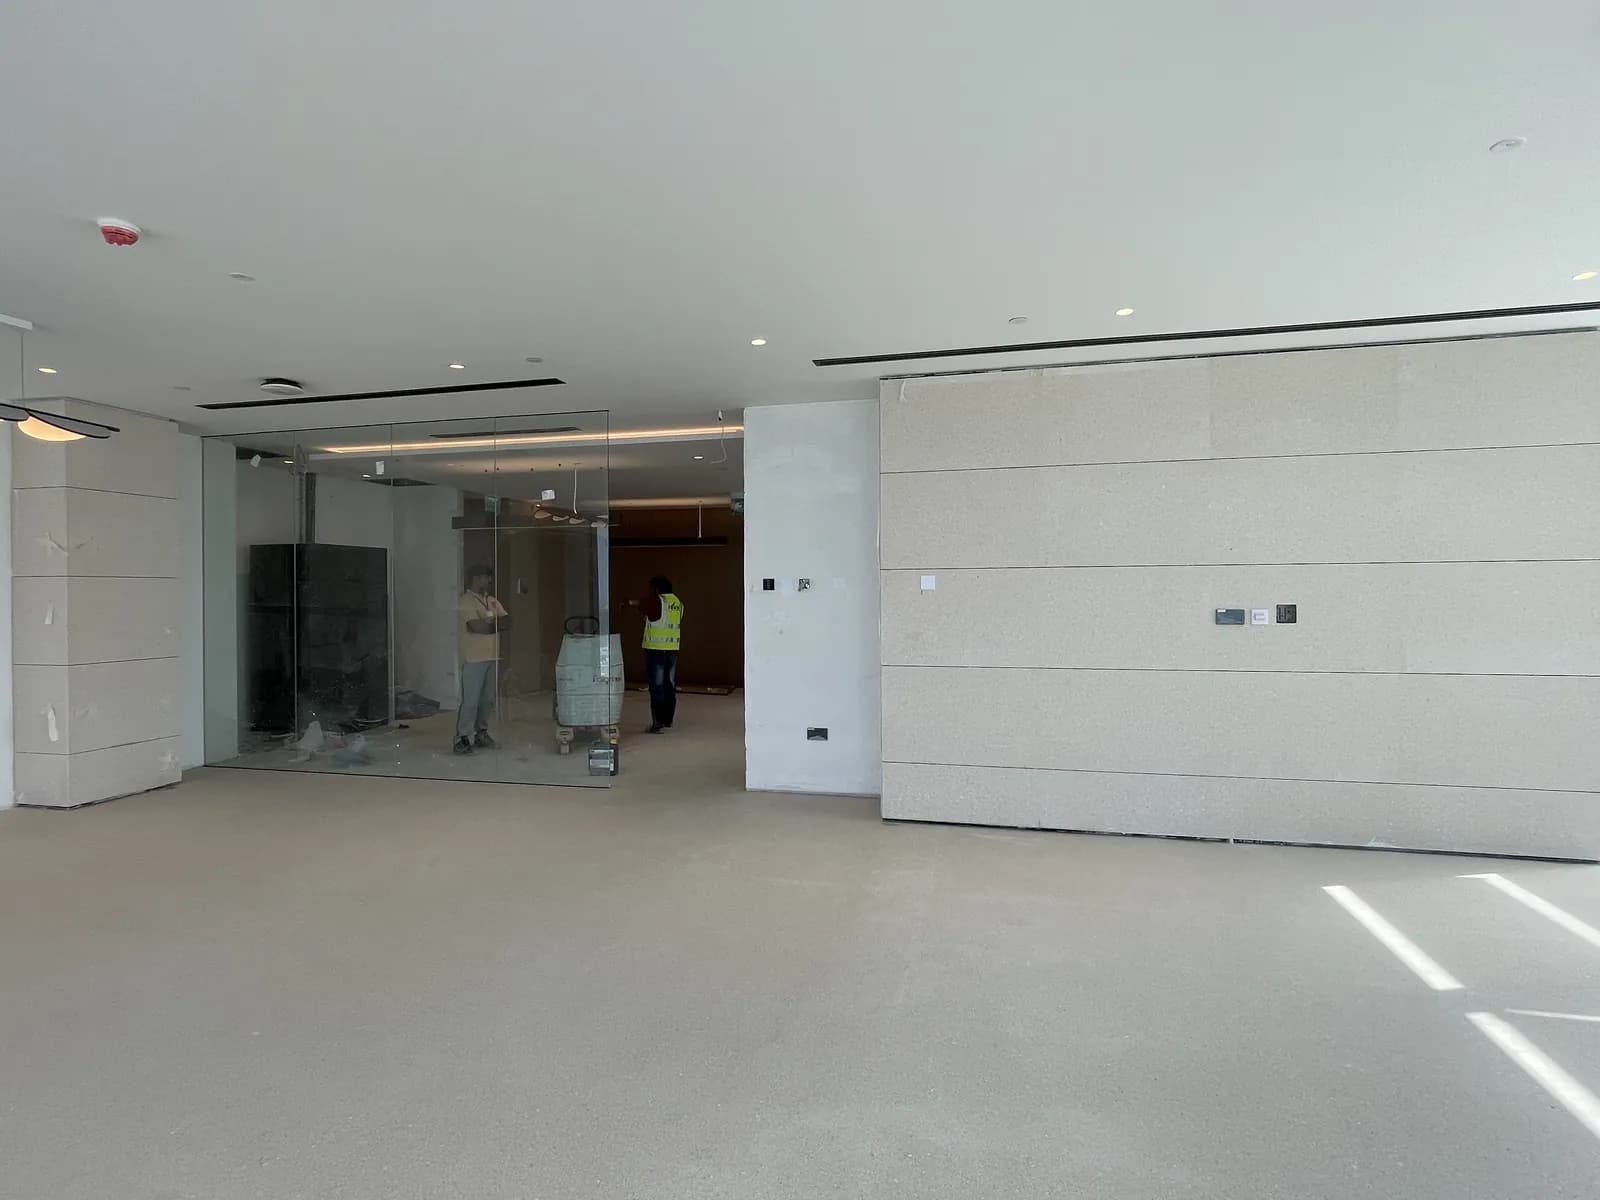
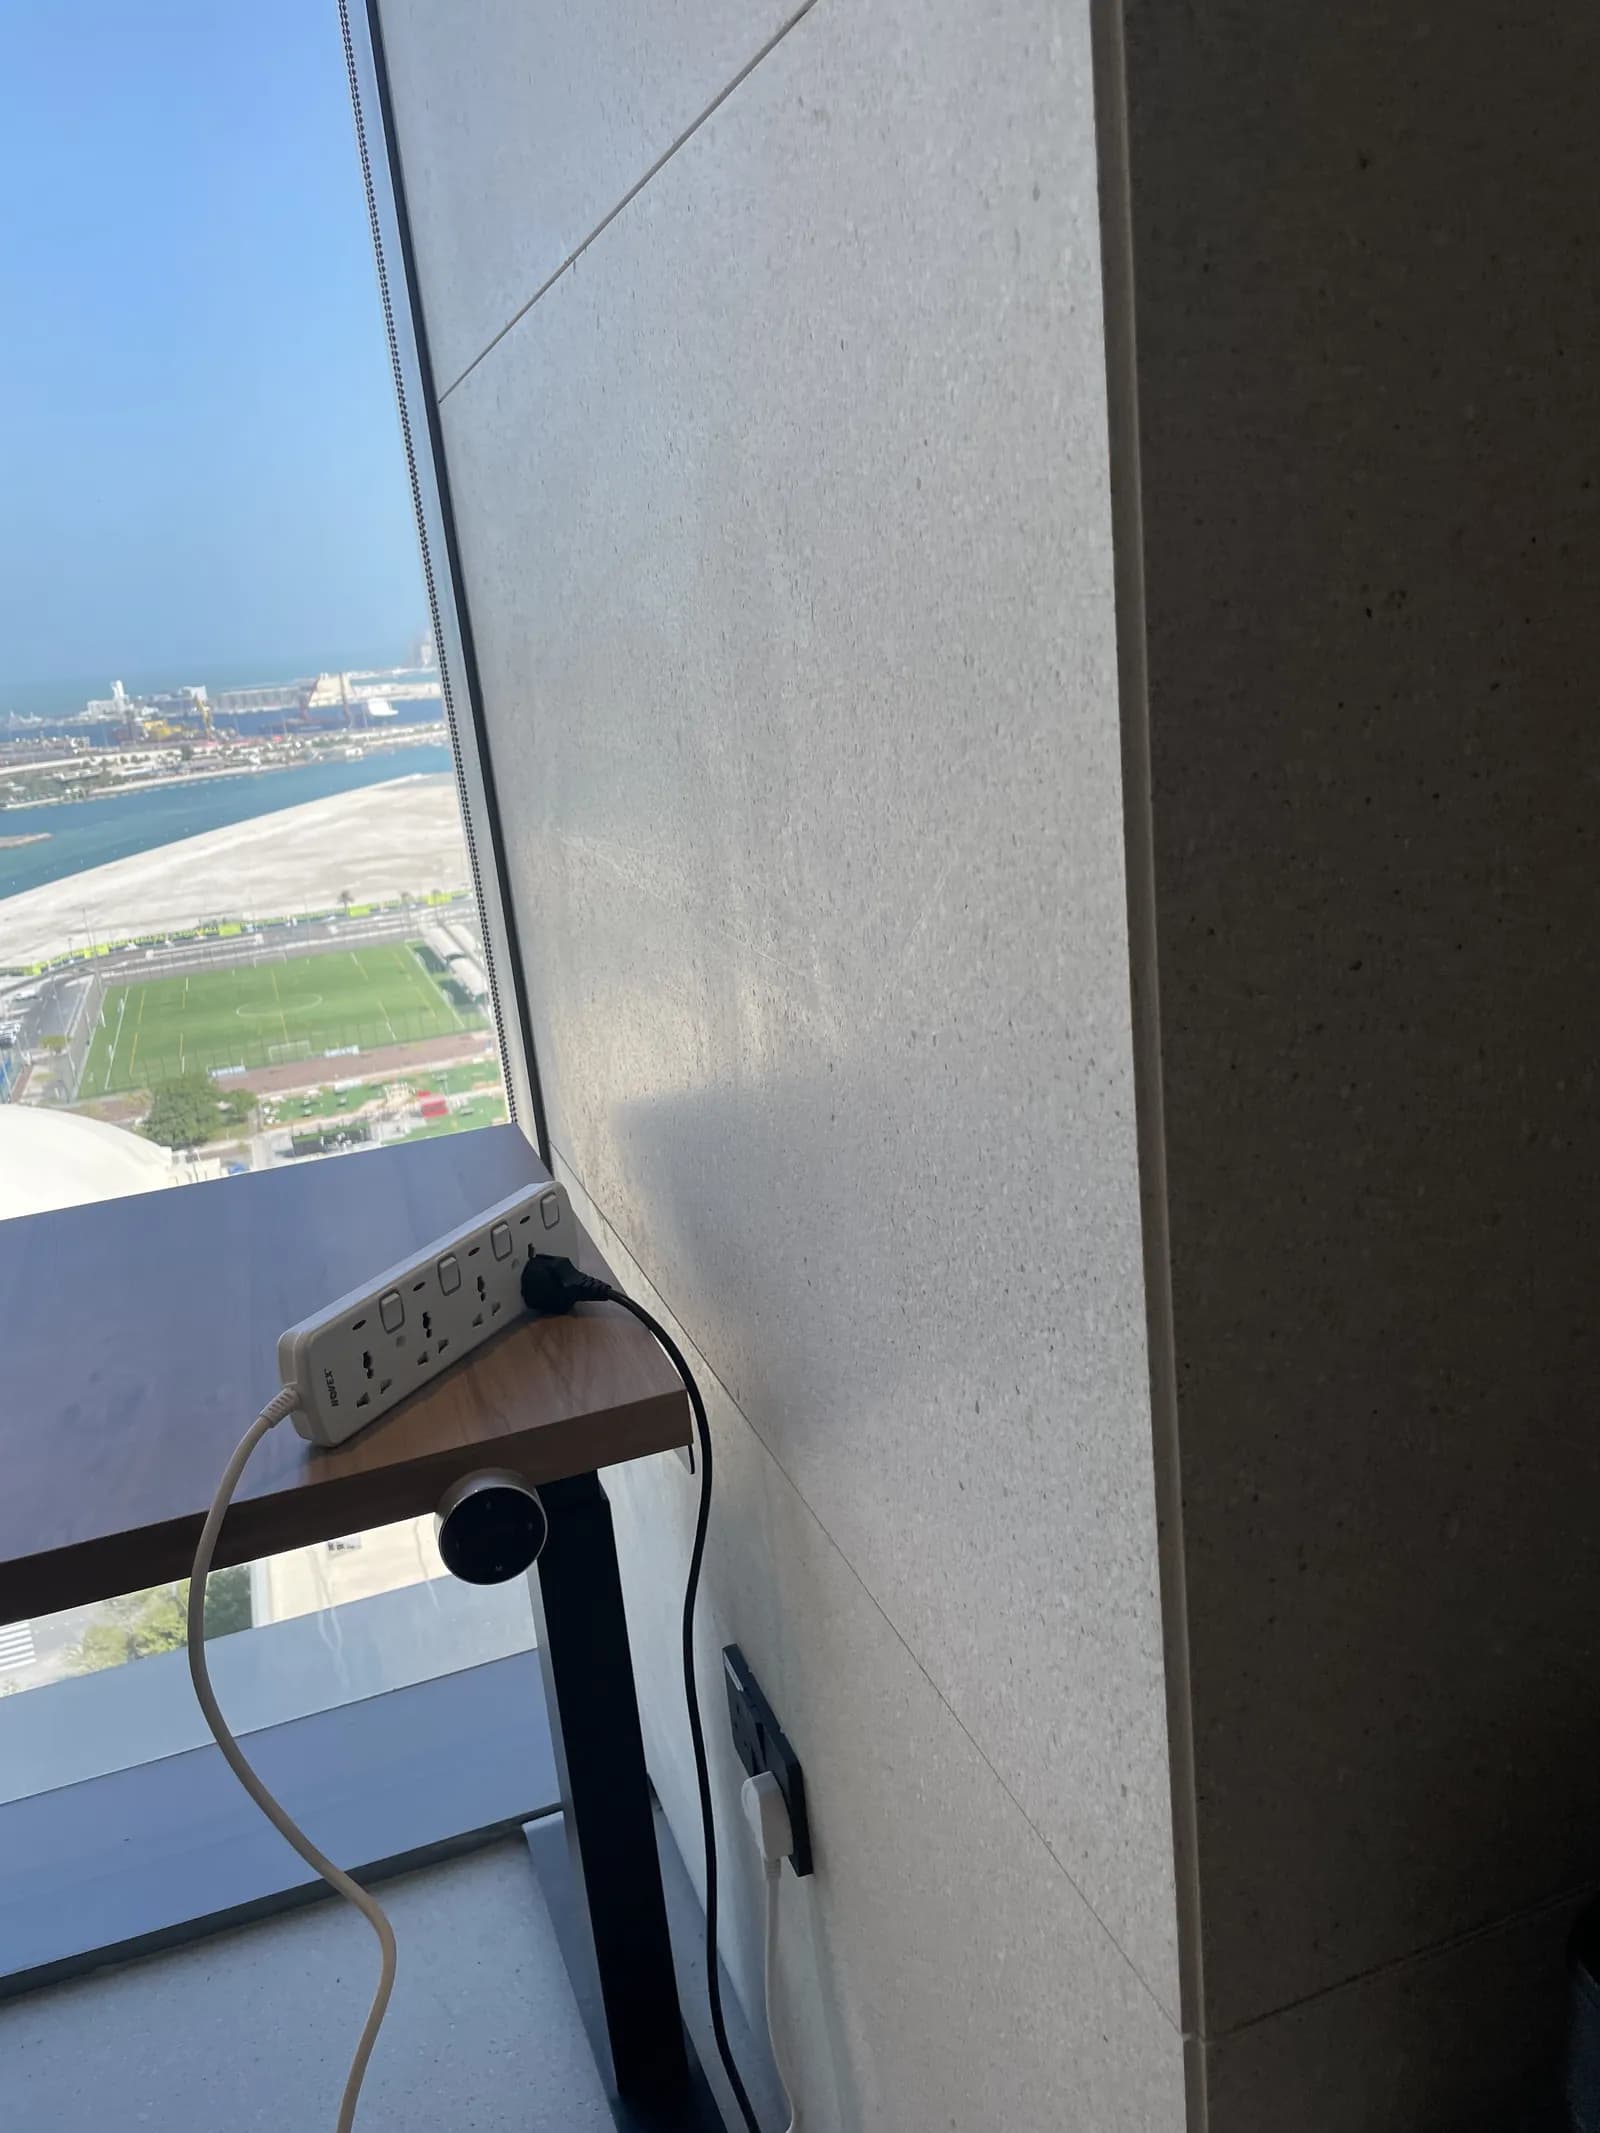
The middle frames show partitions going up, floor boxes, plastering and setting out from full-size drawings pinned to a raw wall. Then comes the work that decides the final look: large-format pale stone cladding, floor to ceiling, with tight joints and controlled shadow gaps.

The finished reception closes the story: a dark stone counter against a backlit blue perforated screen. From shell to that frame is a few months — and a long run of small decisions.

Apri una foto per vederla a dimensione intera.
  • Al Sarab Tower, ADGM: from bare shell to stone-clad walls — foto 2 di 24
  • Al Sarab Tower, ADGM: from bare shell to stone-clad walls — foto 3 di 24
  • Al Sarab Tower, ADGM: from bare shell to stone-clad walls — foto 4 di 24
  • Al Sarab Tower, ADGM: from bare shell to stone-clad walls — foto 5 di 24
  • Al Sarab Tower, ADGM: from bare shell to stone-clad walls — foto 6 di 24
  • Al Sarab Tower, ADGM: from bare shell to stone-clad walls — foto 7 di 24
  • Al Sarab Tower, ADGM: from bare shell to stone-clad walls — foto 8 di 24
  • Al Sarab Tower, ADGM: from bare shell to stone-clad walls — foto 9 di 24
  • Al Sarab Tower, ADGM: from bare shell to stone-clad walls — foto 10 di 24
  • Al Sarab Tower, ADGM: from bare shell to stone-clad walls — foto 11 di 24
  • Al Sarab Tower, ADGM: from bare shell to stone-clad walls — foto 12 di 24
  • Al Sarab Tower, ADGM: from bare shell to stone-clad walls — foto 13 di 24
  • Al Sarab Tower, ADGM: from bare shell to stone-clad walls — foto 14 di 24
  • Al Sarab Tower, ADGM: from bare shell to stone-clad walls — foto 15 di 24
  • Al Sarab Tower, ADGM: from bare shell to stone-clad walls — foto 16 di 24
  • Al Sarab Tower, ADGM: from bare shell to stone-clad walls — foto 17 di 24
  • Al Sarab Tower, ADGM: from bare shell to stone-clad walls — foto 18 di 24
  • Al Sarab Tower, ADGM: from bare shell to stone-clad walls — foto 19 di 24
  • Al Sarab Tower, ADGM: from bare shell to stone-clad walls — foto 20 di 24
  • Al Sarab Tower, ADGM: from bare shell to stone-clad walls — foto 21 di 24
  • Al Sarab Tower, ADGM: from bare shell to stone-clad walls — foto 22 di 24
  • Al Sarab Tower, ADGM: from bare shell to stone-clad walls — foto 23 di 24
  • Al Sarab Tower, ADGM: from bare shell to stone-clad walls — foto 24 di 24
Al Sarab Tower, ADGM: from bare shell to stone-clad walls